Tampilkan postingan dengan label Sewing. Tampilkan semua postingan

Kamis, 04 Desember 2014

You Should Know: How to Make Your Own DIY Luxury Sleep Mask

You Should Know: How to Make Your Own DIY Luxury Sleep Mask

Sleep is important, right? It's a fact that's drilled into us from an early age but so many of us, myself included, struggle to get our required 8 hours a night. I don't know if you're like me, but I'm a very light sleeper. I need white noise, complete darkness, and the right type of pillow (memory foam!) in order to make it through the night without disruption.

Recently, I saw Lisa Eldredge's Long Haul Flight beauty routine and the thing that stood out the most to me was the fabulous sleep mask she uses on flights. It had two ribbons instead of an elastic band, was filled with lavender, and was made out of the loveliest fabric. I wanted one to use to sleep with on a nightly basis instead of just throwing a T-shirt over my eyes. When I looked at the price tag (around $100!) I decided I could make my own luxury sleep mask using scraps of fabric from my fabric stash. Surprisingly it took me only about five to ten minutes of sewing to make this! Photographing it took far longer.

DIY Sleep Mask

Materials:
- Scrap Fabric
- Pen
- Paper to draw pattern on
- Thread
- Ribbon
- Sewing Machine
- Pins

_MG_1667

Directions:

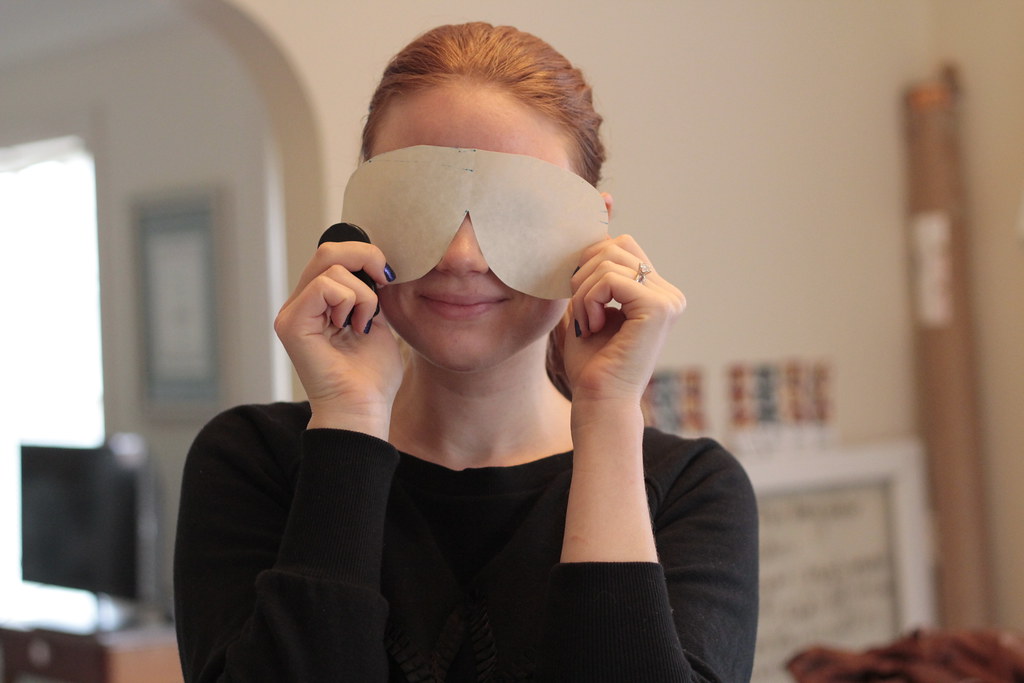
1. Take the paper you are going to use to draft your pattern and draw a sleep mask pattern. You can trace one you already have, you can trace a pair of sunglasses (like I did - old, giant, vintage Ray Bans make a great sleep mask pattern!), or download one from the internet and print it (try here!). Go ahead and cut it out and try it on for size to see if you want to modify it at all!

_MG_1671

_MG_1677

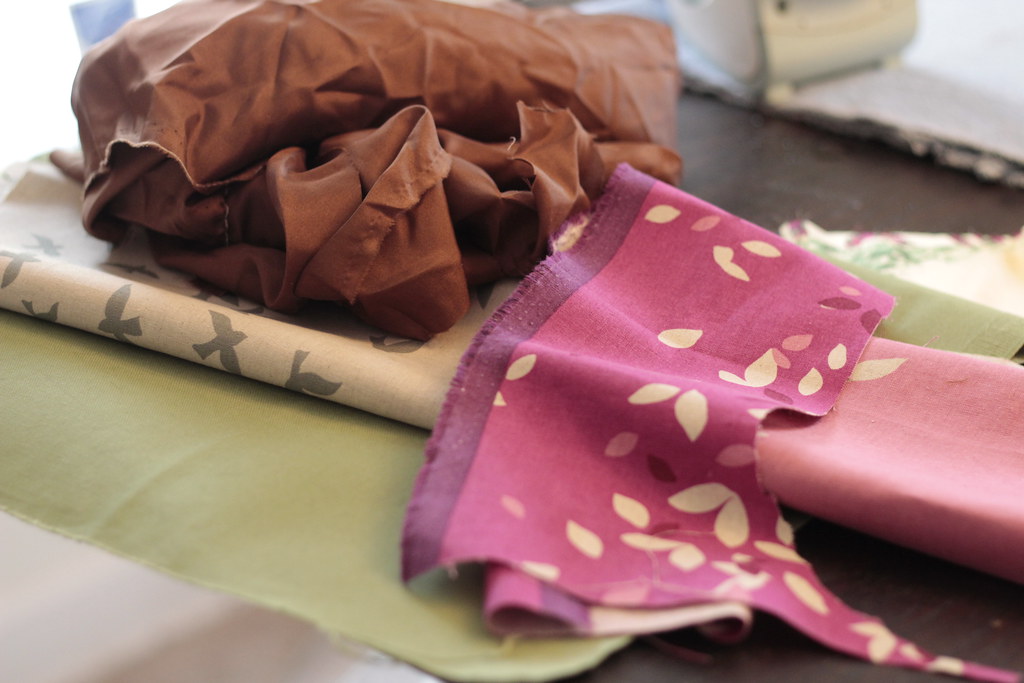
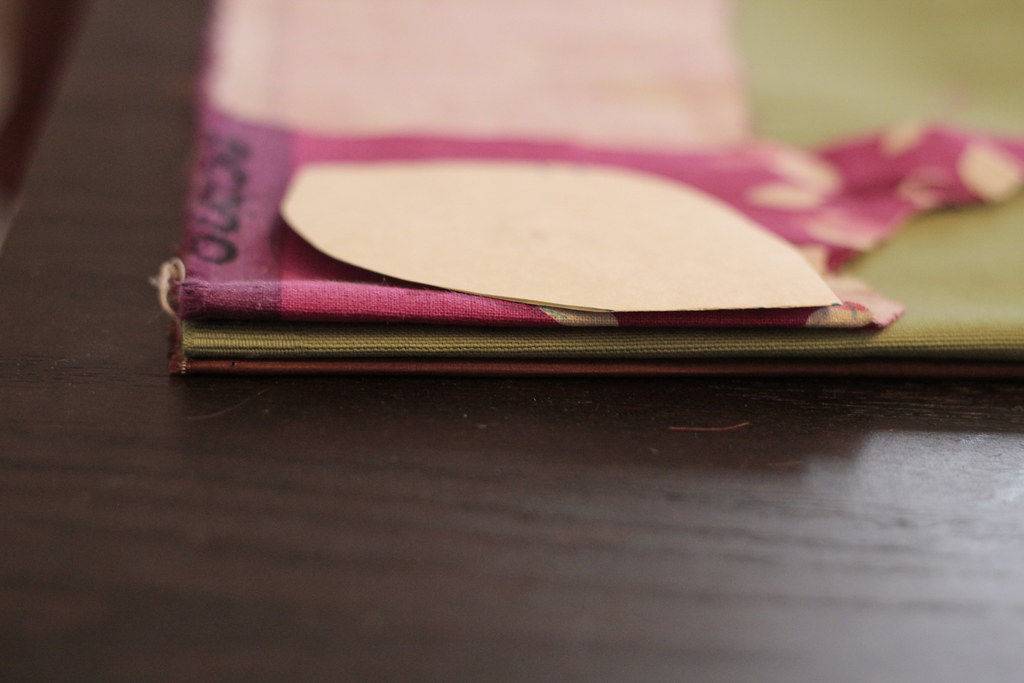
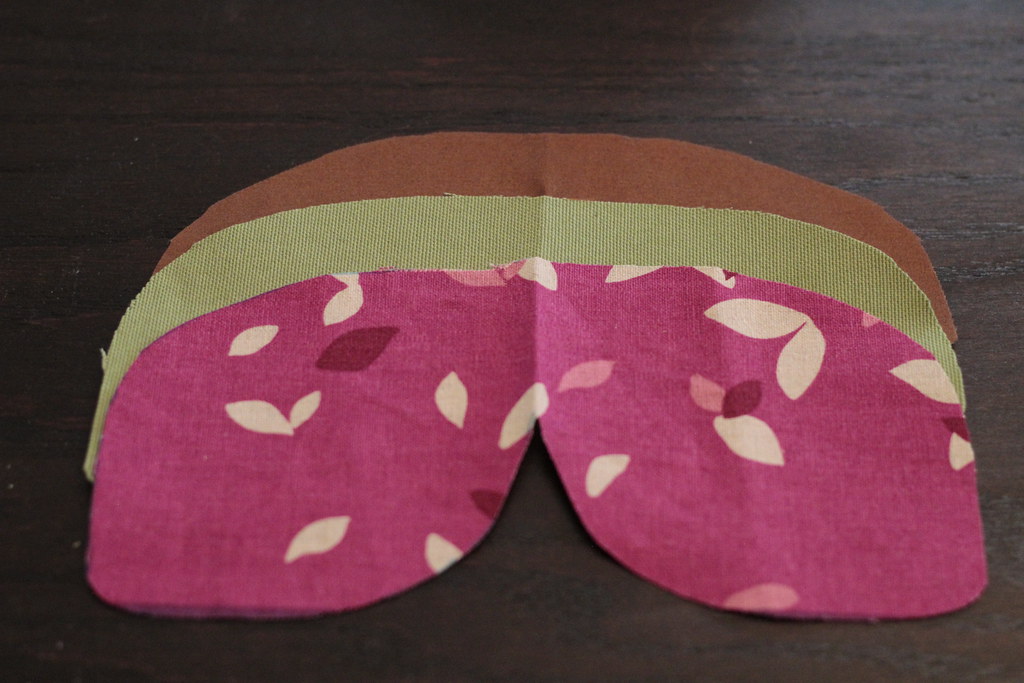
2.  Fold your fabrics in half and stack them on top of each other. I decided to use three per sleep mask - a silk inner lining that rests against my face, a cotton interlining to make sure it blocked out all the light, and a fun japanese linen to decorate the outside! Add the pattern that you just drew on top of it (folded in half and lined up with the folds of the fabric!) and cut through all the layers of fabric. You can also cut them one at a time if you need to.
_MG_1679


_MG_1683

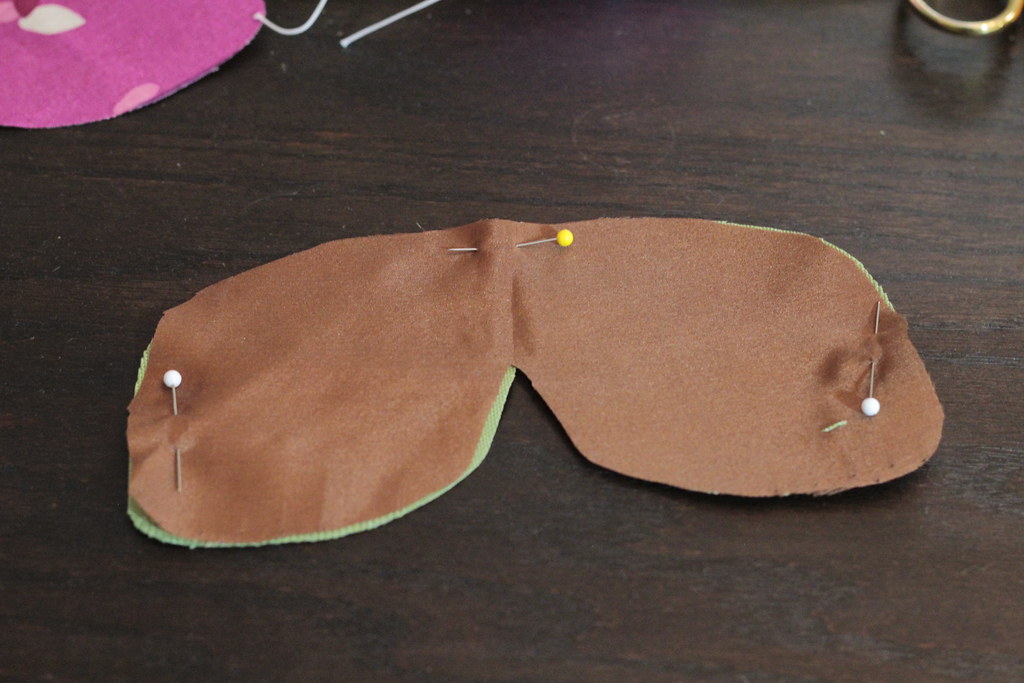
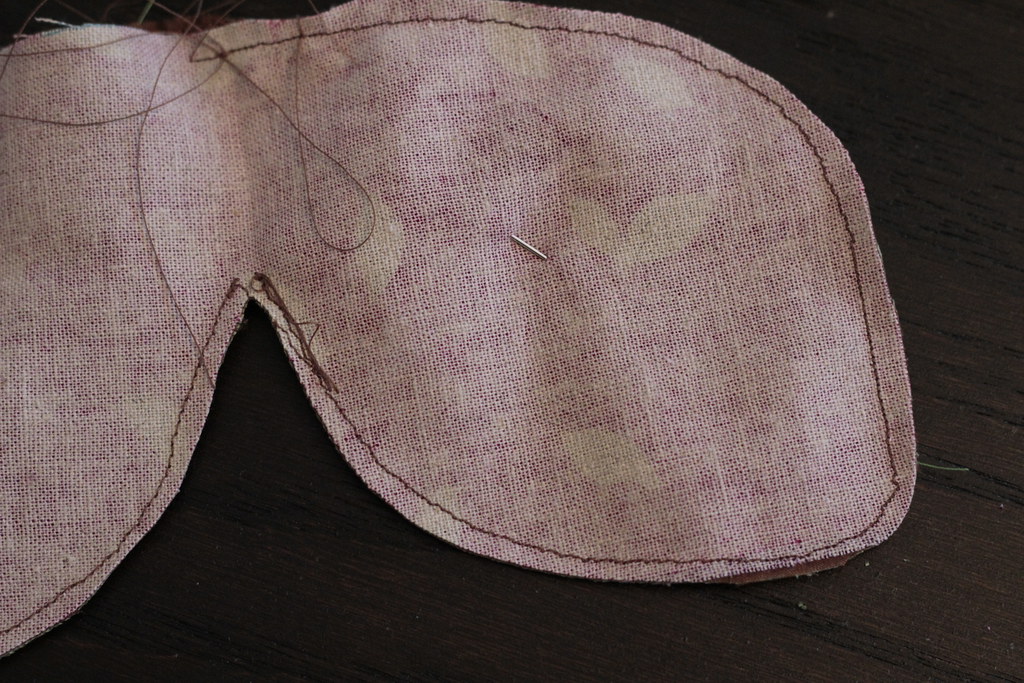
3. Pin the silk layer and the interlining together and sew around the edge so that they become one piece. This will make the silk easier to work with, especially if you used lining silk like I did! 

_MG_1685

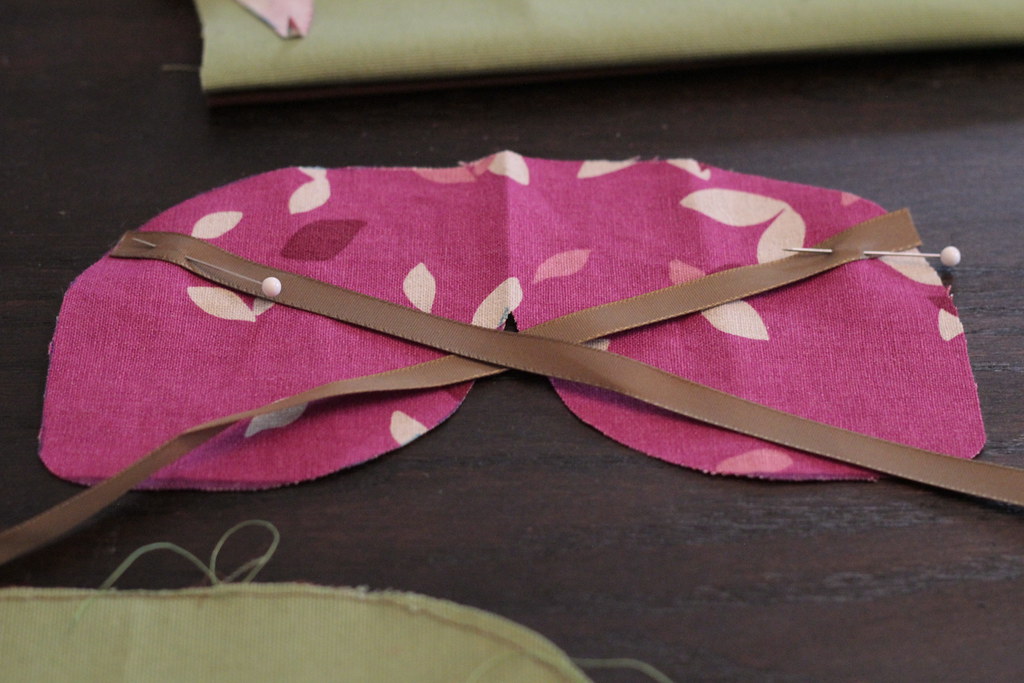
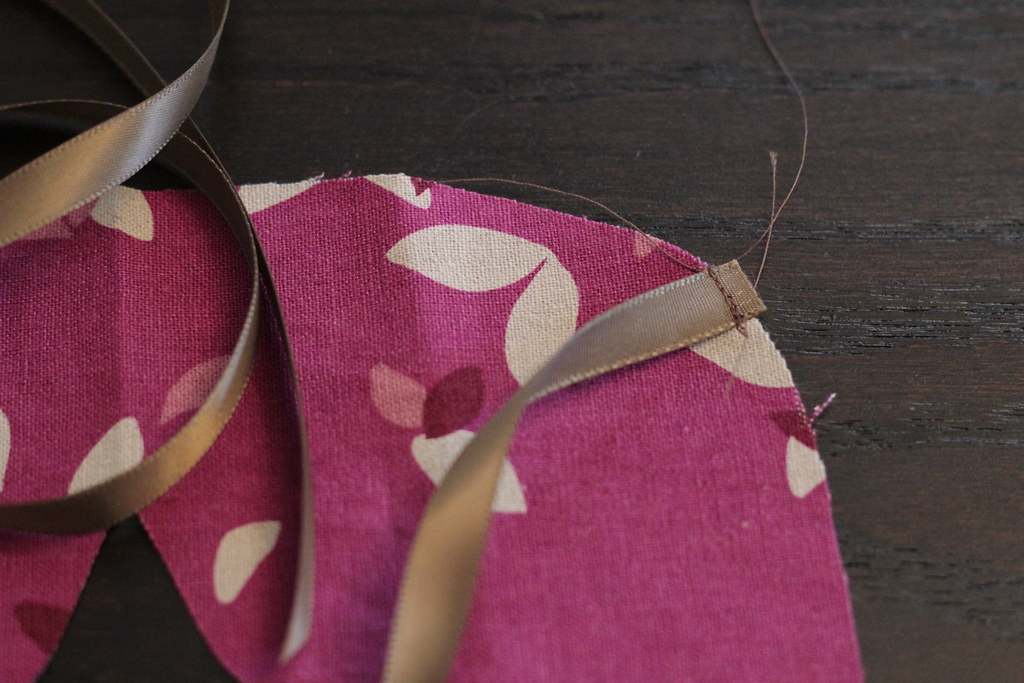
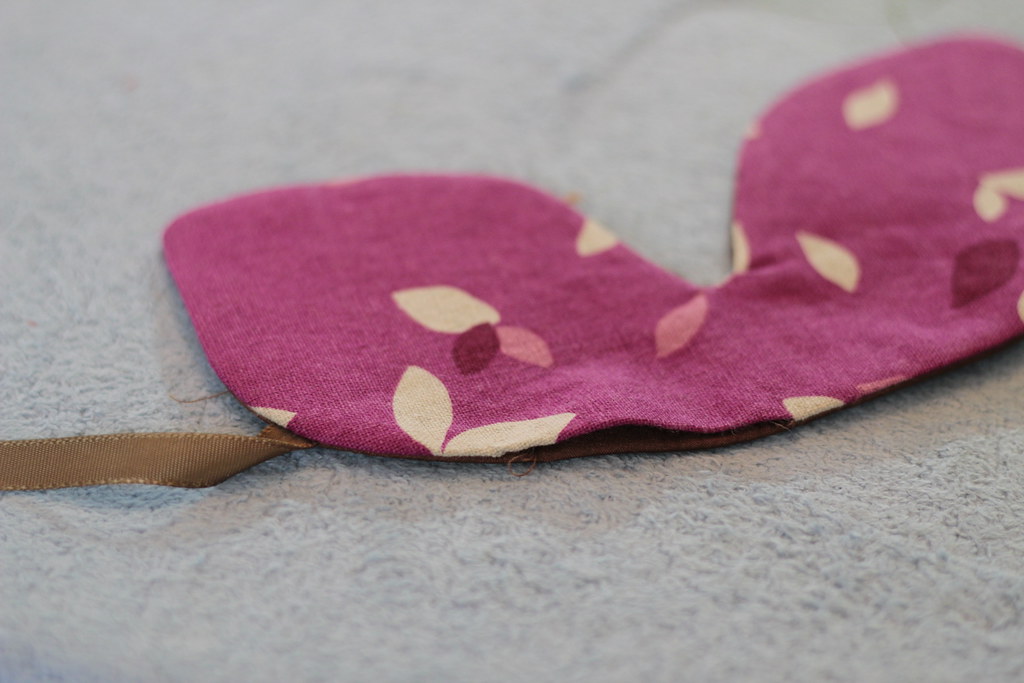
4. Take your ribbon pieces and pin them to the RIGHT SIDE of your fashion fabric. I chose to have them cross so that when they were tied they angled up above the ponytail I always have in my hair when I sleep. Run a few stitches to secure the ribbon so they don't move while you sew the rest of the sleep mask. 

_MG_1691

_MG_1692

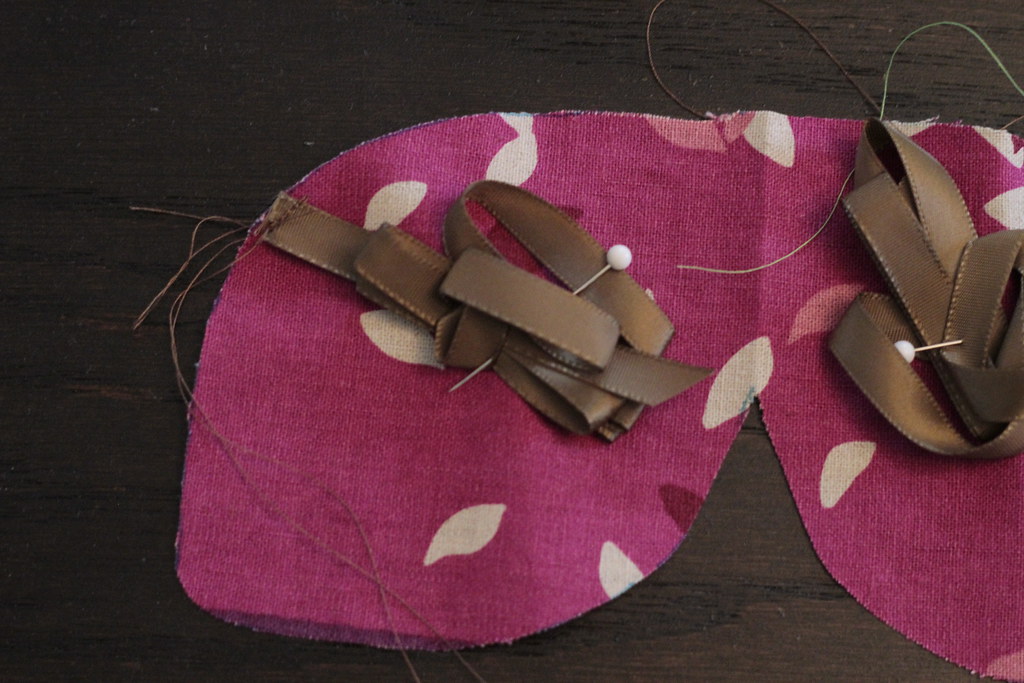
5. Secure the ribbons to the center of the sleep mask using pins - this makes it more difficult to accidentally sew the ribbon into the edges of the sleep mask when you in the next few steps.

_MG_1693

6. Pin the RIGHT SIDES together - this means that I put the silk fabric facing the ribbons that I had just secured onto the fashion fabric and pinned. Sew around most of the edge but leave a little gap to turn the sleep mask inside out. 

_MG_1696

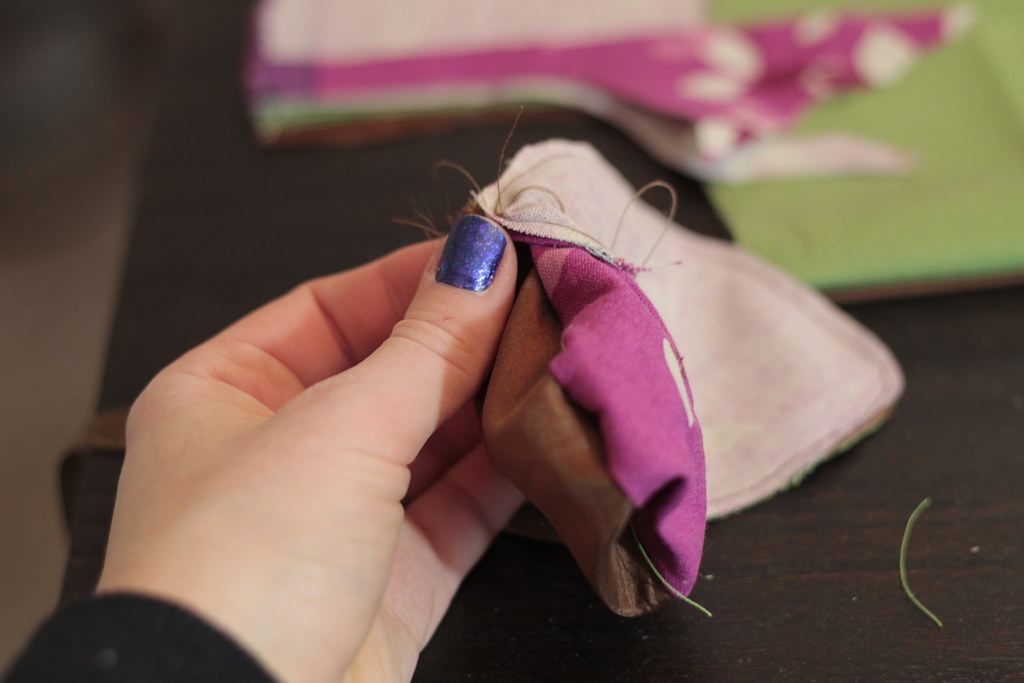
7. Turn the mask inside out using the little gap that you had left. 

_MG_1697

8. Press the sleep mask flat, and concentrate on pressing clean seams for that gap, too. We are going to use the pressing + topstitching to close the gap instead of hand stitching the gap closed. 

_MG_1698

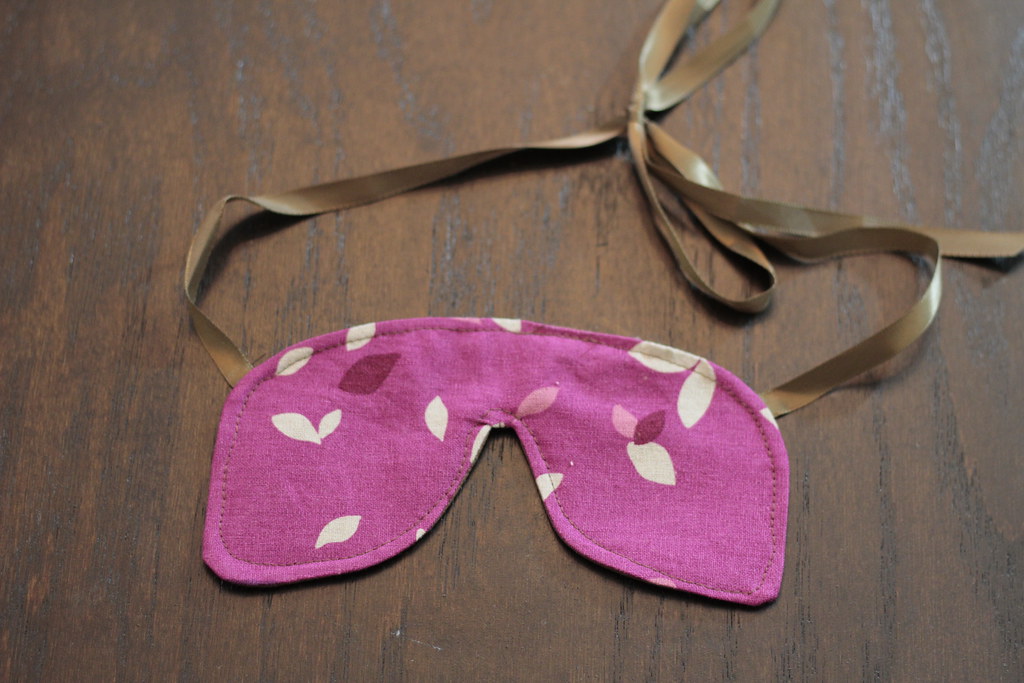
9. Topstitch around the whole mask. This will help stabilize it and close the gap in the mask as well! All done!!!

_MG_1699

_MG_1706

If you have any questions or need anything explained further please feel free to leave me a comment or shoot me an email! If you do make this project I'd love to see a picture, too! 

PS: Have you checked out my giveaway? I'm giving away a few of my favorite beauty products to celebrate my November Beauty Wrap Up! You can find it here

Sabtu, 01 November 2014

You Should Know: How To Draft Your Own Tote Bag

I should have given you some advanced warning on this but I didn't make up my mind to cross post this over to my blog until just now! I'm co-hosting a sew-along on Reddit and have been working hard to make all the materials for everyone to follow along with in October so they'd be ready to post in November. 

For those of you who are curious about what a sew along is it’s an activity where a bunch of people get together and sew a similar item, generally doing the same steps in the same time frame and communicating successes and frustrations with the community. At the end we all share what we made!
I'm spending the month making the project with a new instructional video each week. Here's the basic info you need to complete the overall project:

This Month's New Skill/s: Inserting a lining into a bag, creating a loop and button closure

Materials Needed: *
.5 yds material for outside of tote and handles (I will be using a #8 Cotton Duck because I have it sitting around and I like a stiffer tote bag!) 
.5 yds material for lining tote (I will probably be fishing through my scrap bin for this and looking for something that'll work with my cotton duck! This will likely be a thicker cotton but I'll show you what I come up with later.) 
Thread that matches the fabric
A button

Suggested Supplies 
A large piece of paper (craft paper, architect's paper, even a paper bag cut open and laid flat or wrapping paper) to draft the pattern on 
Something to write on the paper with 
Something to mark your fabric (tailor's chalk or even a simple pencil or pen will do)
 Paper scissors 
fabric scissors 
sewing machine 
A ruler or measuring tape 
A quilting square or grid is helpful to make square corners but this can be done with other things as well!

Schedule
Week 1: drafting the pattern, cutting the pieces
Week 2: Sewing the bag, lining, and handles 
Week 3: Creating the loop for the closure, installing the lining, finishing with a loop and button closure 
Week 4: Showing it off!
Feel free to ask any questions you have here and I'll try to help wherever possible!


If you're interested in joining here's the first video:


Rabu, 22 Oktober 2014

Auburn Hills

Auburn Hills

S8

S23

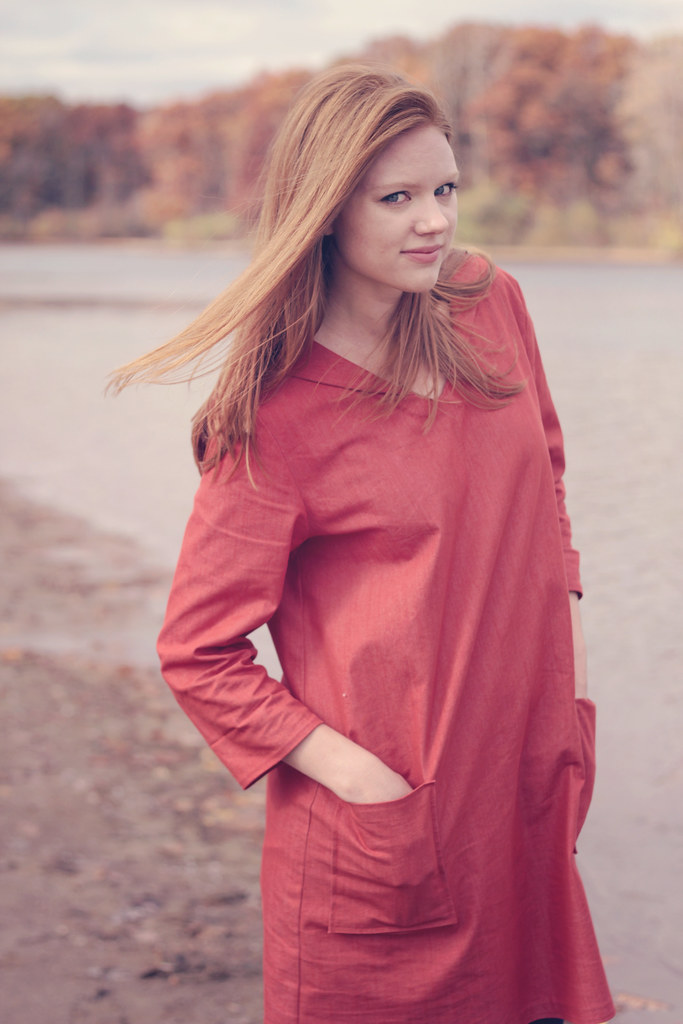
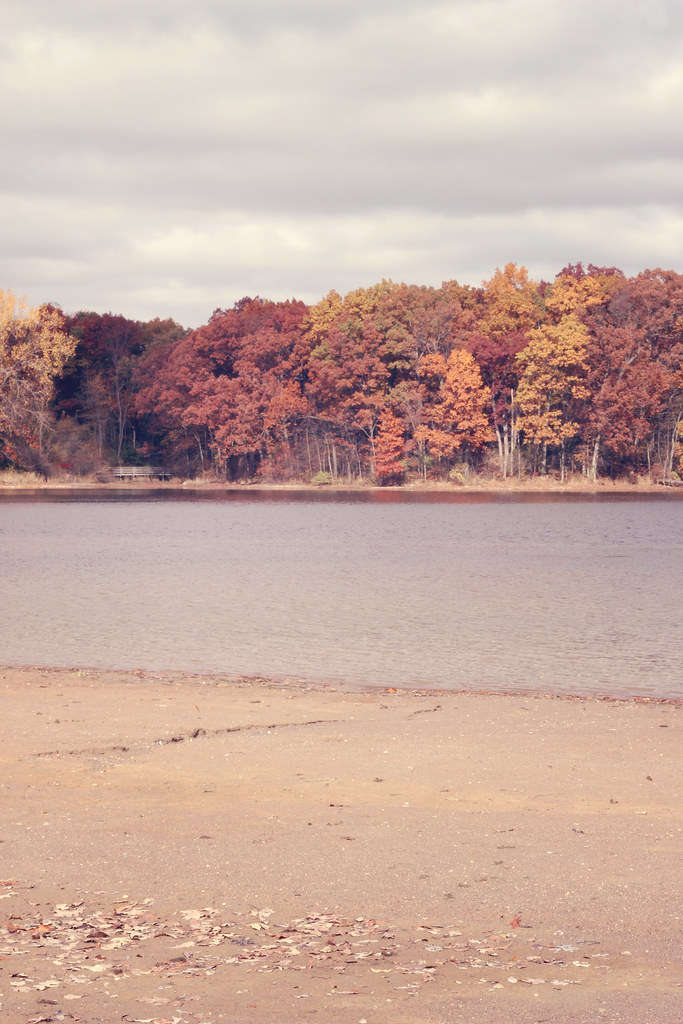
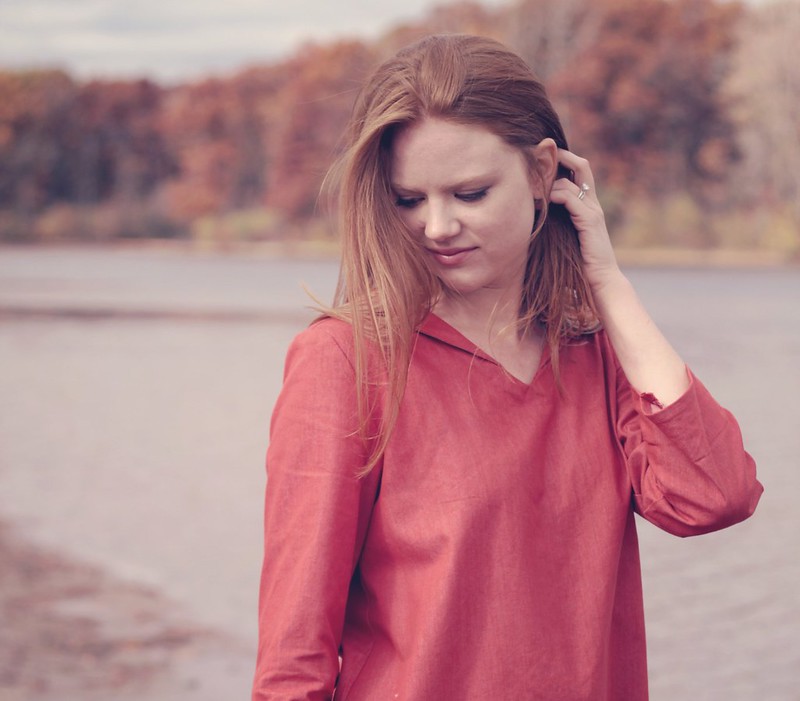
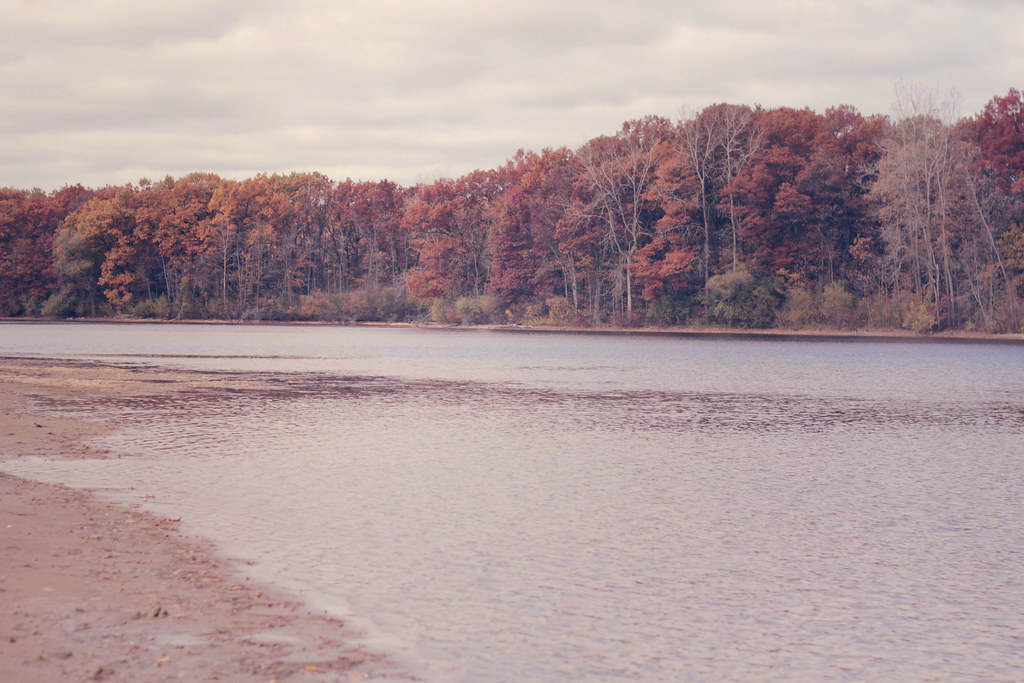
There's a town in the suburbs of the city I live in called Auburn Hills. I recently had to drive through Auburn Hills on the way to an errand and I understood clearly why the city is called that. The trees are ablaze with the fall colors - red, oranges, yellows, and yes, even Auburn. I found this beach in the woods out there and spent a little time running around on it all by myself.

I love a tropical beach, don't get me wrong. I love the azure water, sunshine, burning sand, night time bonfires, the great people watching, and the smell of the salt and humidity. Just as much, or maybe even more than I love that summer kind of beach, though, I love an autumn or winter beach. I love the grayness, damp sand, and cold wind that speaks of an ability to rush right along the surface of the water like a gull. Most of all there's a stillness about it that's hard to find anywhere else. It's quiet and there's just the sound of the water and the wind and there's space to run around. When I find these empty beaches I run along that place where the water and the world meet with my hair down until my eyes are stinging with tears from the wind.

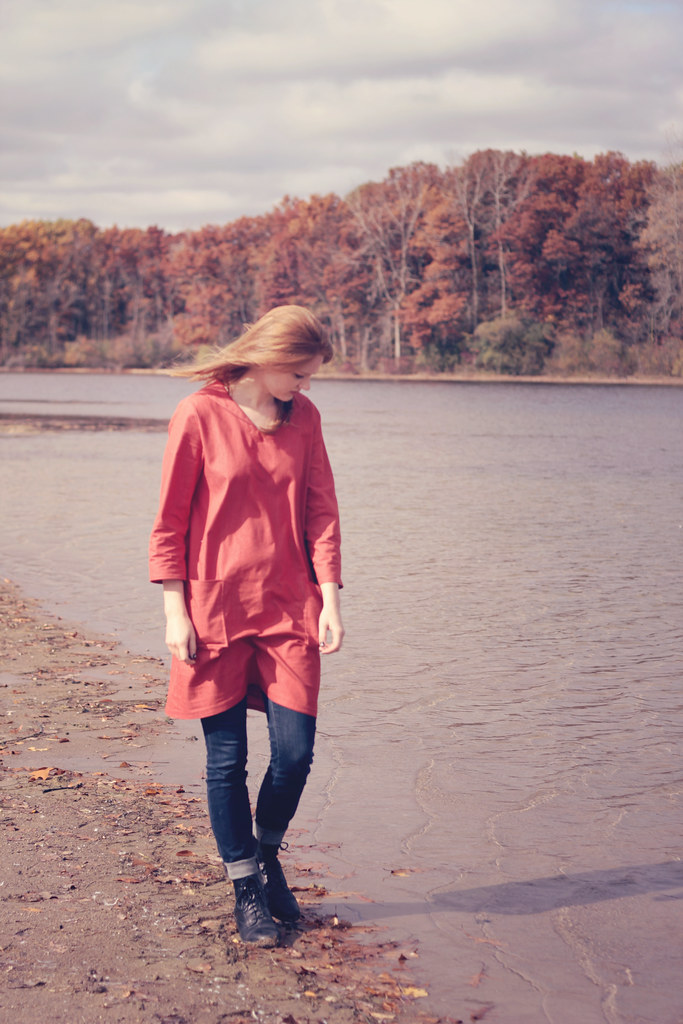
So, as I was running errands I found this beach sitting there, all lonely and perfect, and went out to run on it and rejoice in the fall leaves. I had my camera in the car and a good hair day so I decided to take some photos. This simple shift is the most recent thing that I've sewn - I really am on a sewing kick right now! I blame the Japanese Pattern Books for it - these things come together so quickly and are such small projects they can be completed in a morning so I can just kind of churn them out as fast as I want to wear them.

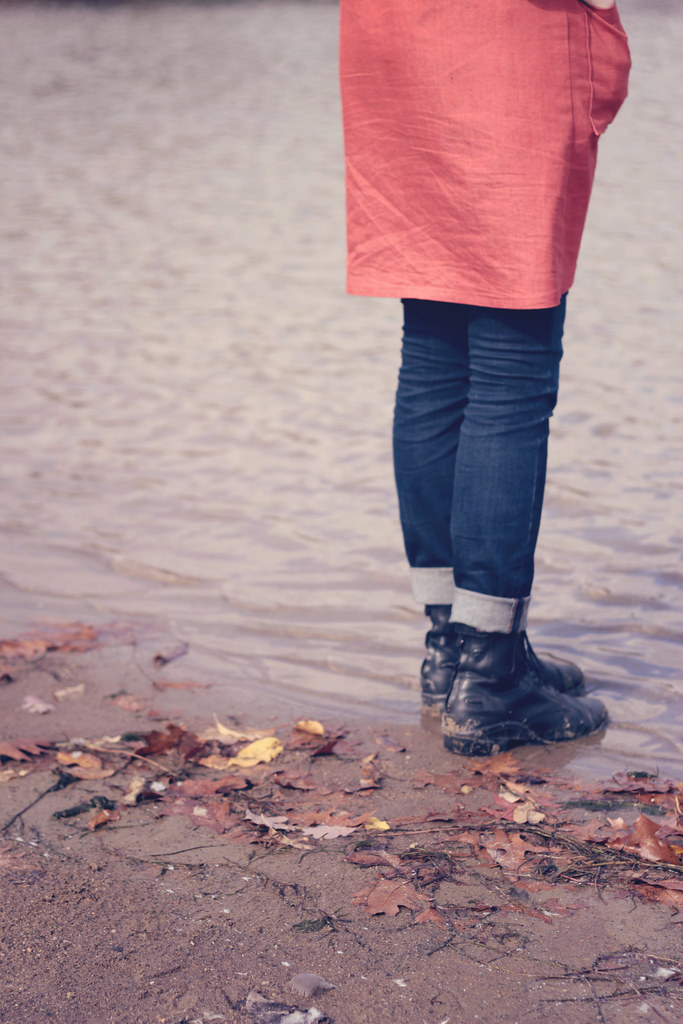
This particular shift is made in a Japanese denim that has just the tiniest bit of stretch in it that I found for sale in a fabric shop around here. It's super simple and easy to wear and has patch pockets in front to hold all your random stuff.

S2

S11

S6

S19

S13

S18

***

Dress: Self Made

Sabtu, 04 Oktober 2014

The Grey Canvas Coat

The Grey Canvas Coat

J10

J5

It's Autumn right now but for some reason the whole universe feels like spring to me, emotionally. I'm not sure how to explain it. It could be that we just moved and new friendships and careers are blossoming, or it could be all of the new things that I am learning and trying to teach myself, or it could just be the way I am these days, stuck eternally in spring, always growing and growing and trying to bloom. I don't know.

Moving to Michigan has been a difficult thing in some regards. My most beautiful friendships took place there. I know Denver well and the city itself provided so much comfort and adventure. I ate breakfasts in amazing places - the capital steps, Red Rocks, and I was never scared there. I always felt safe. 

We took frequent trips to Moab and Santa Fe and I grew to love the geography of the desert and the brightness of the stars to the point where it felt like the Southwest had sunk into my skin. I am altered because I was there, and I am unable to return to the person I was when I arrived. And, holding all these thoughts, I am grateful I can not go back to who I was before the dust and ash of the summer and the blueness of the winter sky and the spring and fall storms rolling over the mountains like the breath of God. 

But now I'm here and it's a good life. It's very different. The objectives have changed, the community has changed, too. But I am still content. I've never had so much time to play and work and figure out how to get a massive, beautiful project off the ground. I move slower here - there is so much time. We also have almost nothing in our house because we haven't really unpacked and I truly like it that way. I may never go back. Those boxes might stay packed forever. 

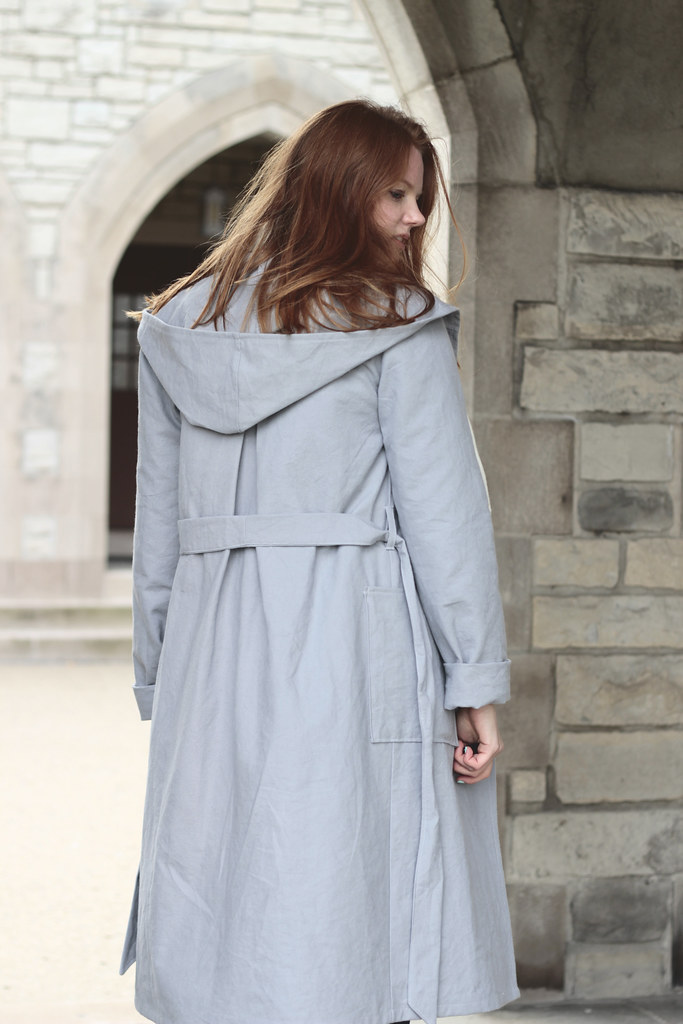
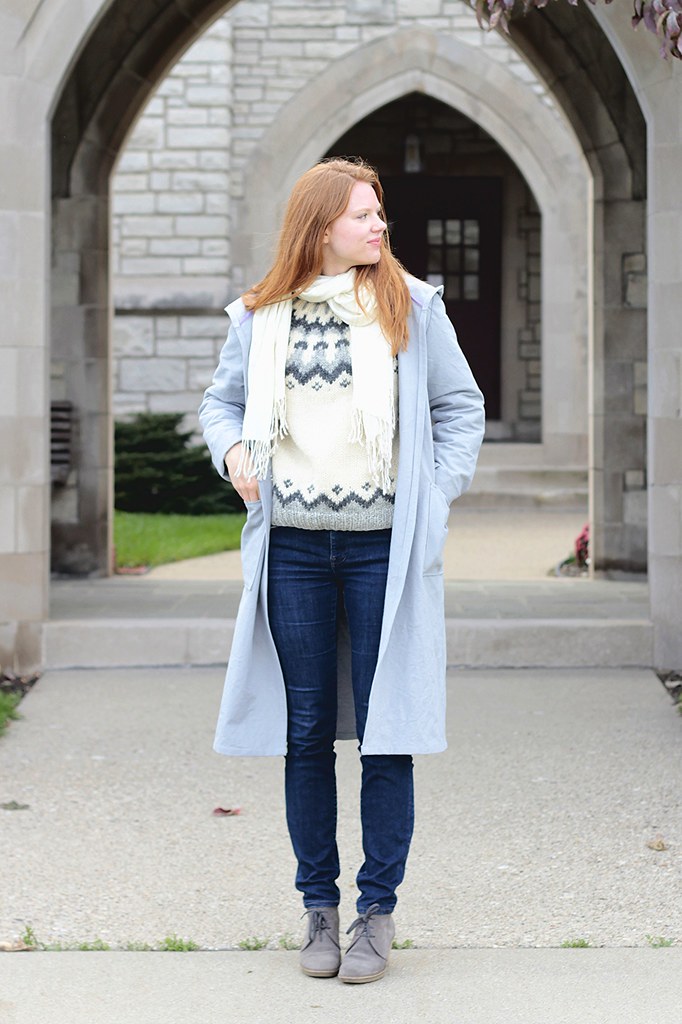
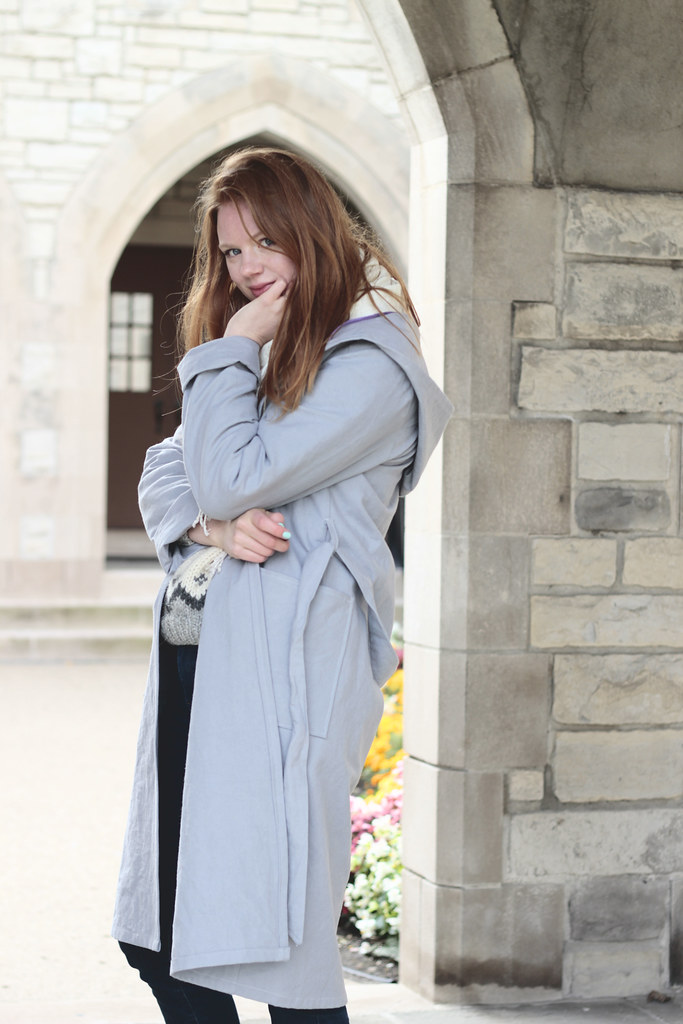
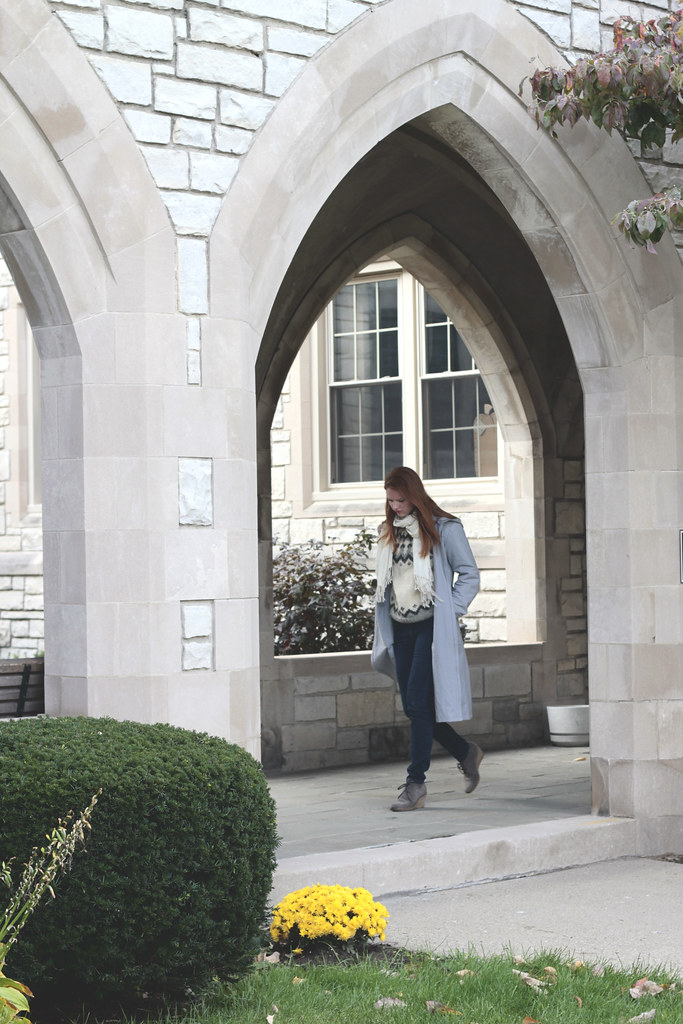
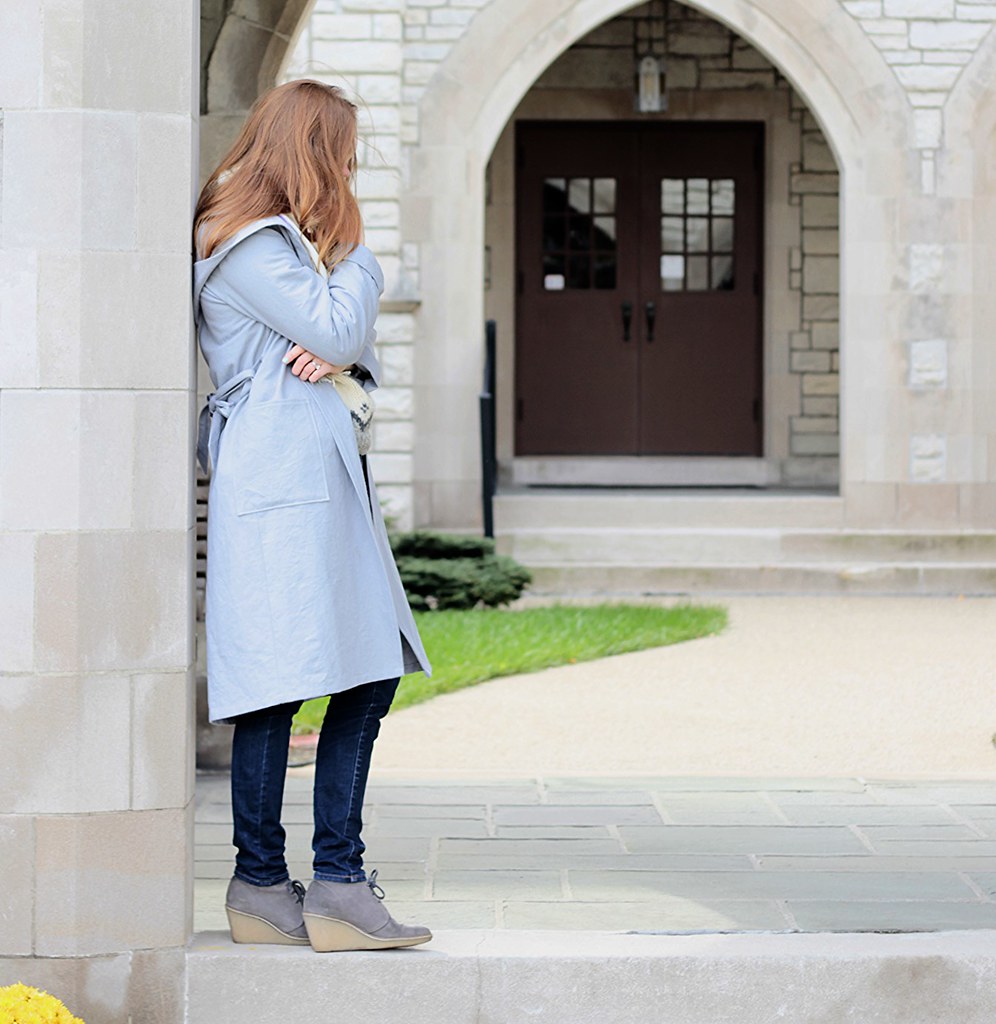
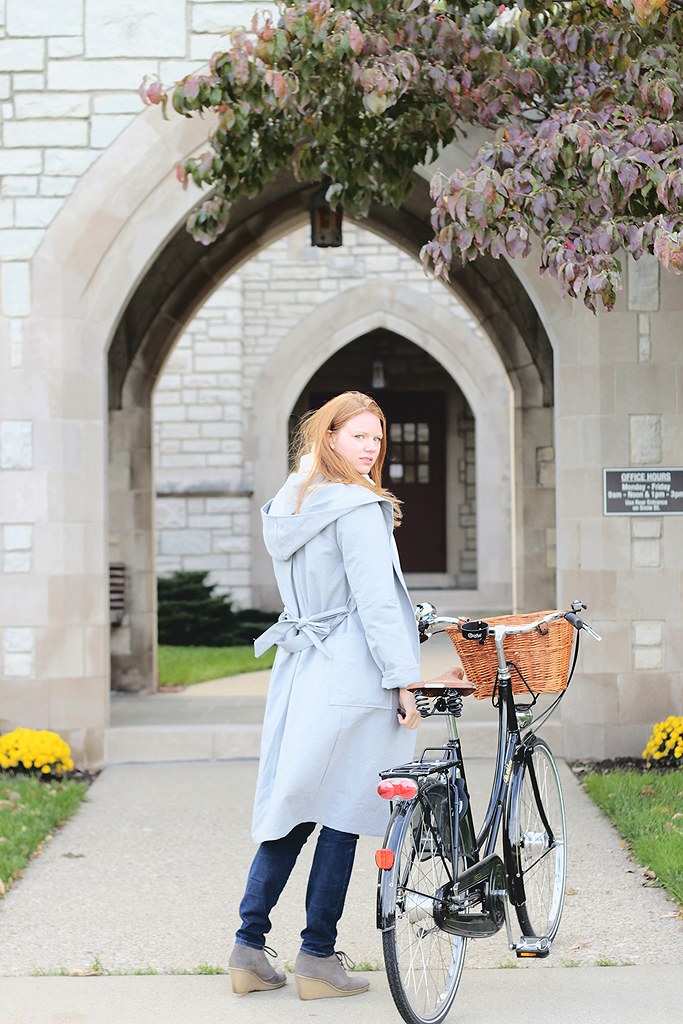
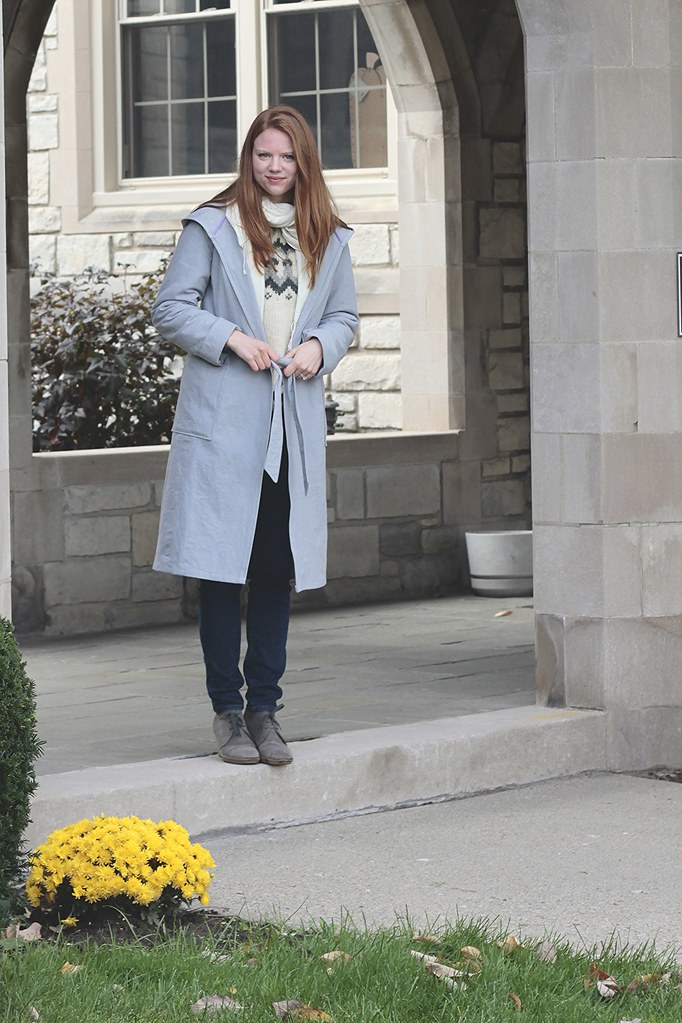
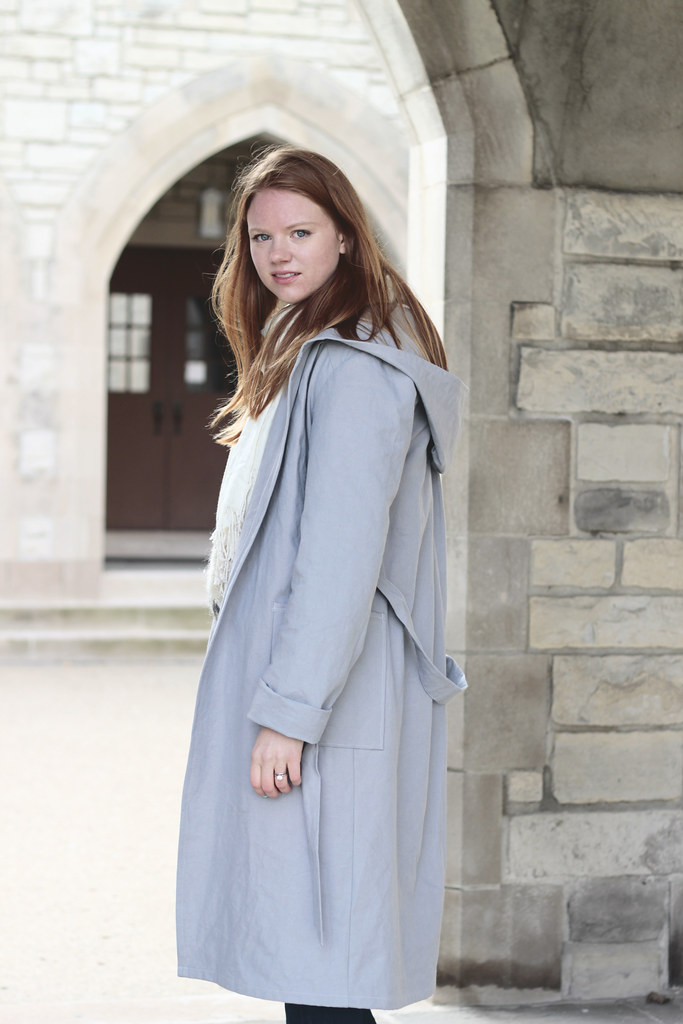
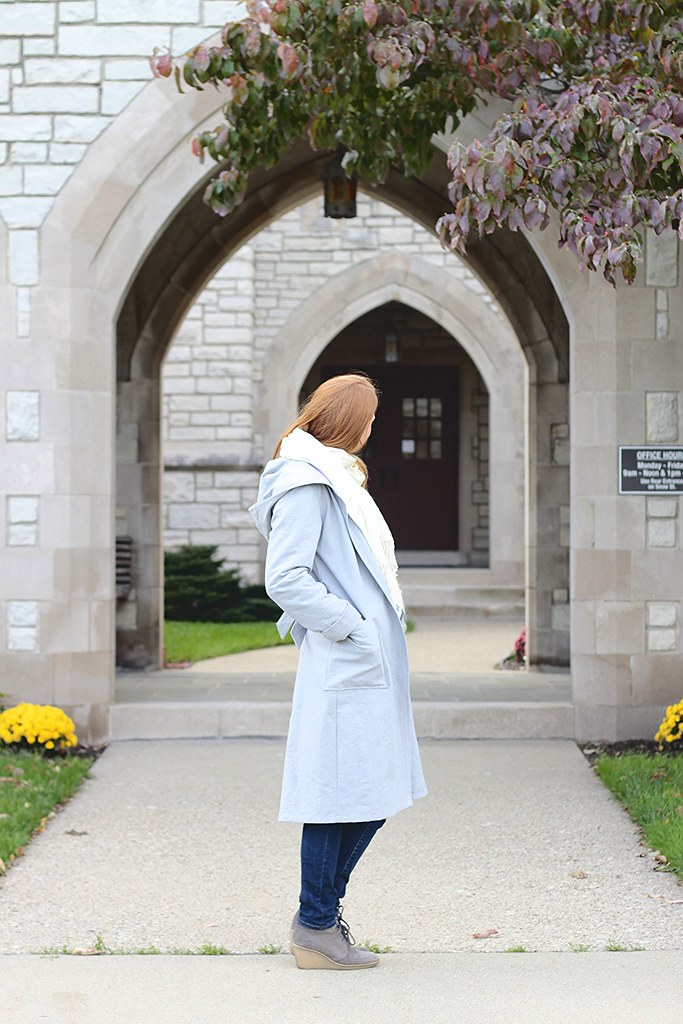
We  have come into this mindset here that we didn't have in Denver that if we want something we'll make it and that is so satisfying. I've made wallets, purses, shirts, fancy dinners, sewing tables, and even the coat I'm wearing in these photos. It takes time, this creating, and sometimes multiple tries, but the things that we've made are going to age well. And this in and of itself has taught us that the very best objects in life are the things that become perfect over time. Everything is an investment. It's worth doing it right. 

J11

J9

J7

J4

j8

J1

J2

***

Coat: Self Made
Sweater: Icelandic Lopi 
Jeans: Madewell Skinny Skinny
Shoes: j. crew
Scarf: I can't remember 

Jumat, 02 Agustus 2013

Summer Sweetness - Part Two

Summer Sweetness - Part Two

Summer Sweetness Summer Sweetness

Summer is drawing to a close - I finished my internship yesterday and on Monday I start training for the new district. Oh my goodness! This summer has absolutely flown by and has been so jam packed and busy. We hit the ground running by flying to Alaska the day after I finished up with my school year, I started my internship the day after I got back, and I start school three and half days after my internship. 

Despite this, there has been so much time to play! When I think of all the amazing things that I have done this summer the thing that comes to mind is gratitude - simple gratitude for all that has been given to me, for all the happiness I have. 

What are you grateful for this summer? 

  Summer SweetnessSummer Sweetness Summer Sweetness Summer Sweetness

It goes without saying that all of these pictures were done by Jessica Triggs. 

*** 

The Hair and Makeup was done by me. 

*** 

The shirt is vintage, repaired quickly before the shoot after sitting under my bed for almost three years. The scarf and shoes are vintage, too. The shorts are by the talented Anna Allen.

Jumat, 26 Juli 2013

Summer Sweetness - Part I

Summer Sweetness - Part I

Summer Sweetness

Summer Sweetness


Summer Sweetness

Things take practice - that's what I've learned this summer. I recently started horseback riding because I really just wanted to be a beginner at something, to remember what it was like to have absolutely zero knowledge of something and yet be expected to do things while muddling your way through them to the goal. 

I like tackling new things in community with others, too. I like the process of meeting people and figuring out where they are coming from, what you can teach them and what they have to teach you. Horseback riding is like that - not only do you meet a horse, get to know it, earn it's trust, learn it's commands, and figure out how to partner with it, you learn how to listen to your trainer as she's asking you to do things you've never thought you could do, working through your mistakes, and more importantly, your fears. 

Thanks to Jessica blogging has been collaborative this summer, too. It's become a bigger process, and welcoming someone into a happy project I've been working on for a very long time has been a joyful experience. Jessica takes gorgeous pictures and I am so proud of her work and of her dedication to the art of photography, but beyond that she's an excellent teacher, a fantastic brainstormer, and is always willing to answer questions about how to up the ante on my pictures, especially since I feel like I've plateaued in the last year or so with the quality of my own pictures. 

Working with someone else inspires me to get out there and work on what I love, to dig out things I haven't worn in a long time, and to try something again, to look at it in a new light. I think everything I'm wearing has been blogged before but never like this.

Honestly, I used to be terrified of collaboration. I was always the girl in school that would take on the entirety of the group project, terrified I would get something less than an A. Over the years, tI've learned to let collaboration be about learning and making mistakes. I've come to grips with letting others teach me. I've slowly opened up by trying to be less shy or more welcoming. In real life I feel that I come off a little standoffish...mostly because I'm somewhat nervous about things because I'm so afraid what I'm doing will fail if I don't make it go just so or people get too close. I've worked hard on that but I still have a long way to go! 

This summer I have learned and am learning so much - new writing styles, horsemanship, how too cook, photography basics. Out of curiosity, have you learned or are learning? Who is teaching it to you? 

Summer Sweetness

Summer Sweetness

Summer Sweetness

It goes without saying that all of these pictures were done by Jessica Triggs. 
***
The Hair and Makeup was done by me. I used MAC pigments on my eyes and MAC's Russian Red on my lips. (This is, in my opinion, the best shade of red for redheads!) 
***
The shirt is vintage, repaired quickly before the shoot after sitting under my bed for almost three years. The scarf and shoes are vintage, too. The shorts are by the talented Anna Allen. 

Minggu, 07 April 2013

Of Rights and Responsibilities

Of Rights and Responsibilities

I've been thinking a lot, particularly as I drive, about the etymology of the word stewardship. I have been mulling over the history of the word as well as what it means to be a steward in this day and age.

_MG_9031

My older etiquette books (cira 1840's) refer to a steward as the head caretaker of an estate. They had the right and responsibility to manage it, and do it well. A steward was involved in all matters of the estate, from accounting for possessions to making sure the land was managed well and was productive. A steward was one of the most important hires a family could make, and to have a good steward was to have a successfully run estate. 

_MG_9048

As time moved forward to train, then ship, then air travel the word steward began to refer to someone who was responsible for you, the traveler. They would take care of your baggage, your cabin, and attend to your needs. 

Today we no longer have stewards and stewardesses out and about. We refer to the helpful (and sometimes cranky...but mostly helpful!) people on airplanes as flight attendants. I haven't traveled long distances by large boat, though, and there may be a person aboard who is a steward. 

_MG_9030

_MG_9046

Bearing that in mind - I am my own steward. I hold stewardship over all of the the experiences, things, and people I have the fortune or misfortune to come to know. I hold the responsibility for how well my limited estate runs. 

I don't believe that you ever truly own anything. Everything is simply on loan to you - it has been given with the intent that you may use it to serve your purpose but you must take care of it, demonstrate your stewardship of what you have. I feel as if I can take care of what I'm given now - from my career to my relationships to the objects in my house - I will be better prepared to handle the large things later. 

_MG_9100

Here are some small ways I show stewardship:
- I buy the best quality I can afford and maintain it -  I save to buy one pair of leather boots I can wear for years instead of four pairs of plastic ones I can wear for three months, I  mend any repairs needed in clothing once every few weeks, wash it carefully and properly, quickly wipe down appliances when I'm done using them, rinse out my makeup brushes once a week, keep the inside and outside of my car clean.
- I keep in touch with the people who I value, regardless of what gain they bring to my life - I write letters, call, text, send out a semi-monthly family newsletter, meet for coffee
- I stay on top of my finances - My income is limited as a teacher but I know how to shuffle the money I do make into the places that count - Savings (both long term and for things I want in the near future) first, paying down student loans second, bills third, and everything else last. 
- I focus on the long term - This is a tough one. I, like anyone else, enjoy a bit of instant gratification. If I see it, I want to buy it right away. I want things now - a better paying job, a sailboat, a nicer car, travel, moving abroad. I know, however, that life doesn't work that way for most people. You have to build your life, build your estate, manage it well, work hard at it, and things will happen. A few people get lucky and things just happen - the rest of us, though? We have to build it ourselves. It's not a bad thing, though. It teaches perseverance. 

_MG_9052

How do you show stewardship in your life?

***

Scarf: Unknown (similar here)
Earrings: Unknown (similar here)
Jacket: Barbour
Shirt: Urban Outfitters (can't find a comparable shirt, sorry!)
Skirt: Self Made
Boots: Frye 


Top