Sleep is important, right? It's a fact that's drilled into us from an early age but so many of us, myself included, struggle to get our required 8 hours a night. I don't know if you're like me, but I'm a very light sleeper. I need white noise, complete darkness, and the right type of pillow (memory foam!) in order to make it through the night without disruption.
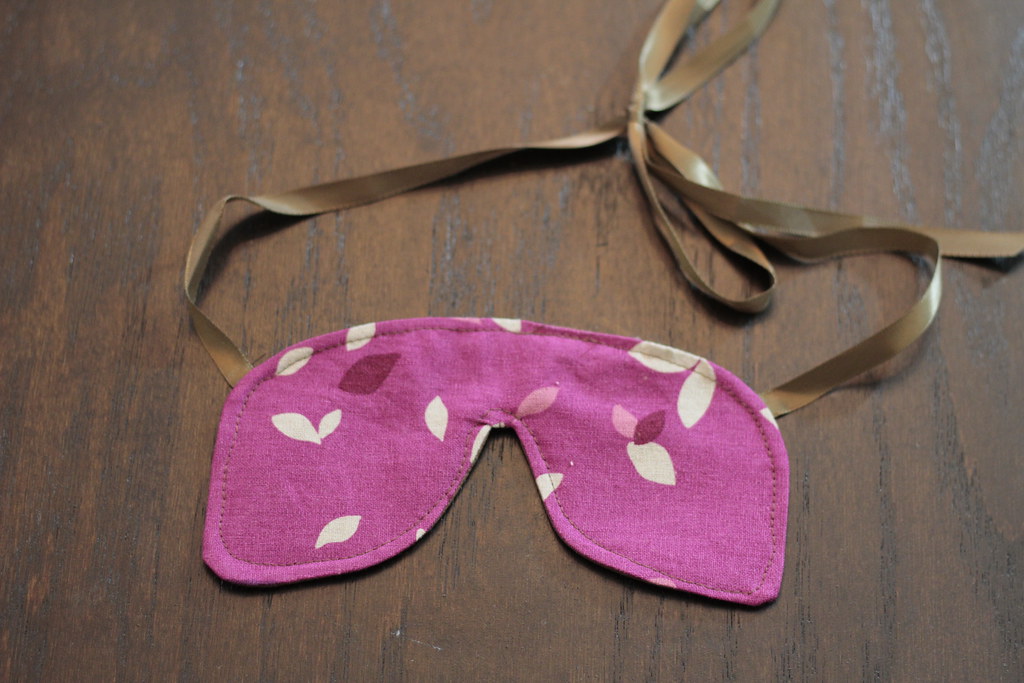
Recently, I saw Lisa Eldredge's Long Haul Flight beauty routine and the thing that stood out the most to me was the fabulous sleep mask she uses on flights. It had two ribbons instead of an elastic band, was filled with lavender, and was made out of the loveliest fabric. I wanted one to use to sleep with on a nightly basis instead of just throwing a T-shirt over my eyes. When I looked at the price tag (around $100!) I decided I could make my own luxury sleep mask using scraps of fabric from my fabric stash. Surprisingly it took me only about five to ten minutes of sewing to make this! Photographing it took far longer.


Recently, I saw Lisa Eldredge's Long Haul Flight beauty routine and the thing that stood out the most to me was the fabulous sleep mask she uses on flights. It had two ribbons instead of an elastic band, was filled with lavender, and was made out of the loveliest fabric. I wanted one to use to sleep with on a nightly basis instead of just throwing a T-shirt over my eyes. When I looked at the price tag (around $100!) I decided I could make my own luxury sleep mask using scraps of fabric from my fabric stash. Surprisingly it took me only about five to ten minutes of sewing to make this! Photographing it took far longer.
DIY Sleep Mask
Materials:
- Scrap Fabric
- Pen
- Paper to draw pattern on
- Thread
- Ribbon
- Sewing Machine
- Pins
Directions:
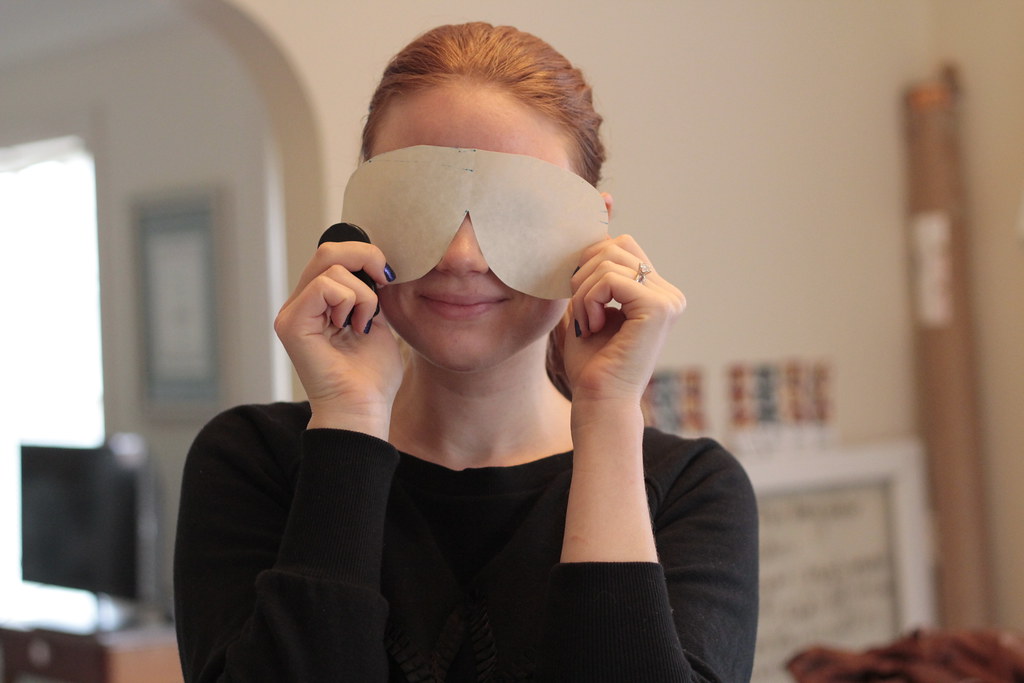
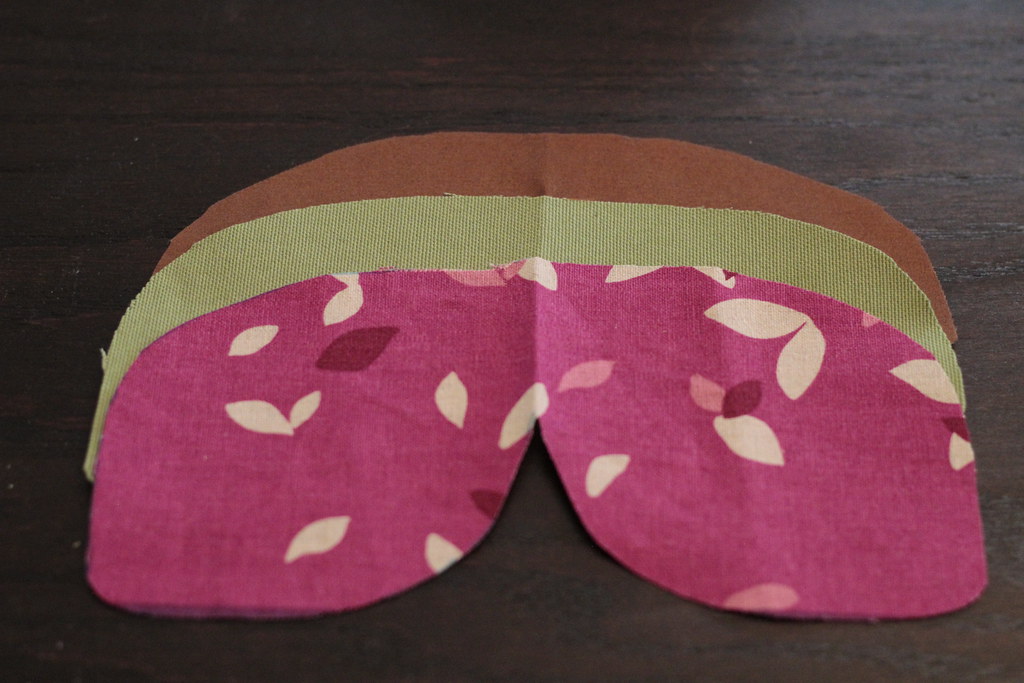
1. Take the paper you are going to use to draft your pattern and draw a sleep mask pattern. You can trace one you already have, you can trace a pair of sunglasses (like I did - old, giant, vintage Ray Bans make a great sleep mask pattern!), or download one from the internet and print it (try here!). Go ahead and cut it out and try it on for size to see if you want to modify it at all!
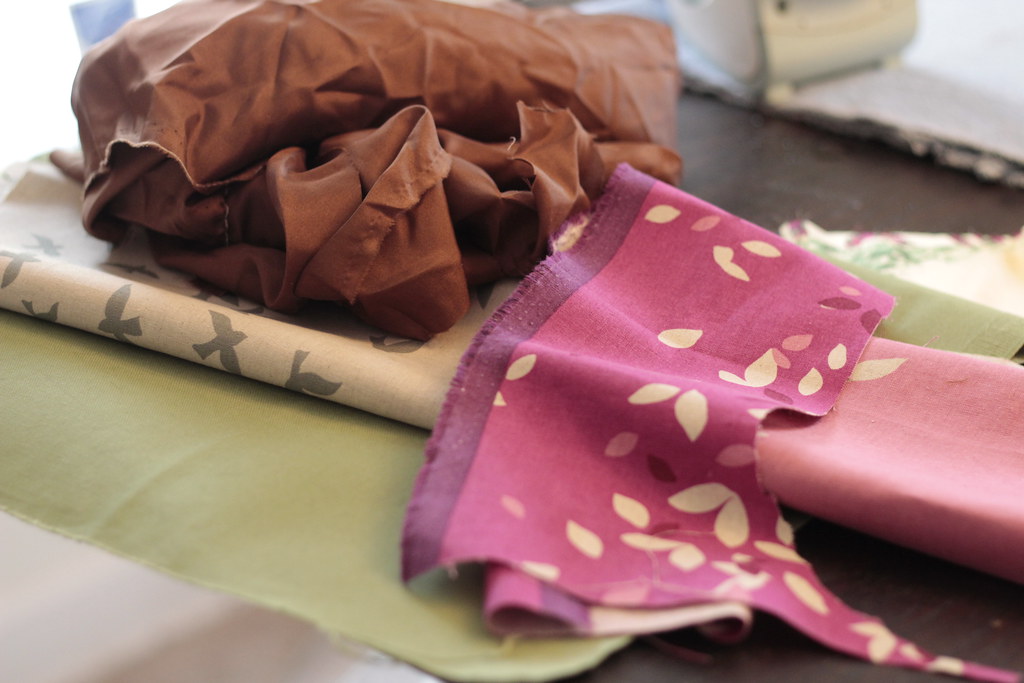
2. Fold your fabrics in half and stack them on top of each other. I decided to use three per sleep mask - a silk inner lining that rests against my face, a cotton interlining to make sure it blocked out all the light, and a fun japanese linen to decorate the outside! Add the pattern that you just drew on top of it (folded in half and lined up with the folds of the fabric!) and cut through all the layers of fabric. You can also cut them one at a time if you need to.
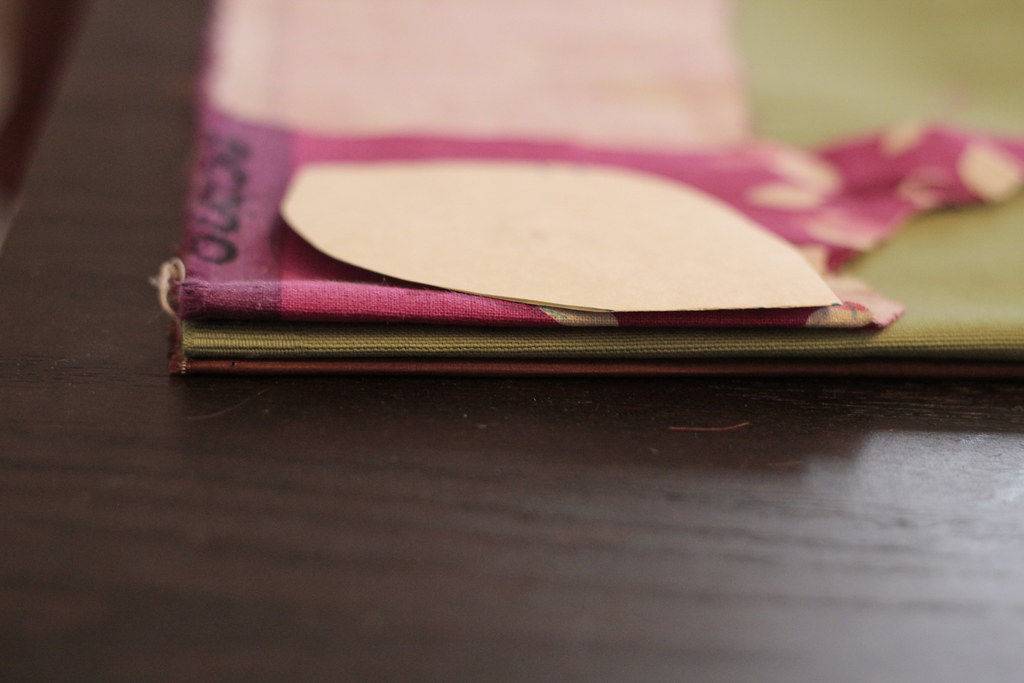
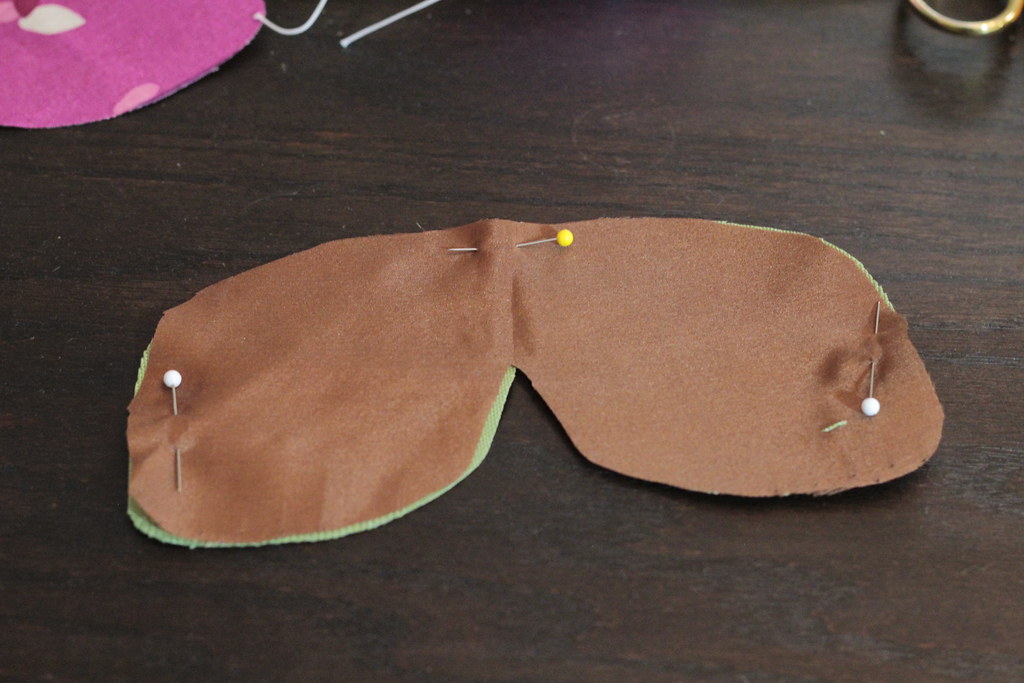
3. Pin the silk layer and the interlining together and sew around the edge so that they become one piece. This will make the silk easier to work with, especially if you used lining silk like I did!
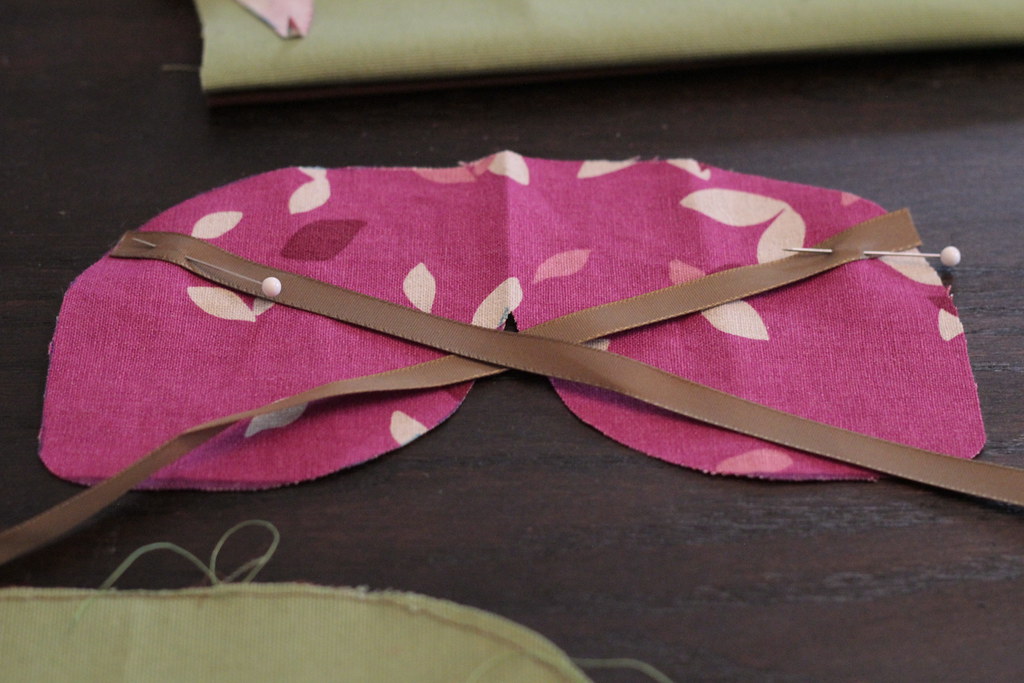
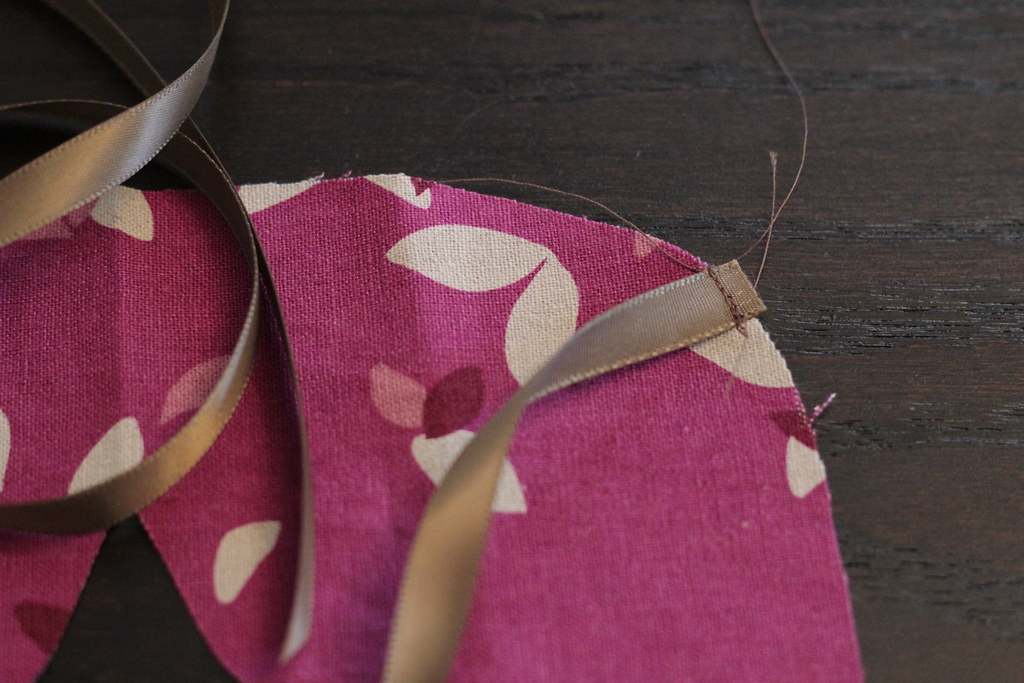
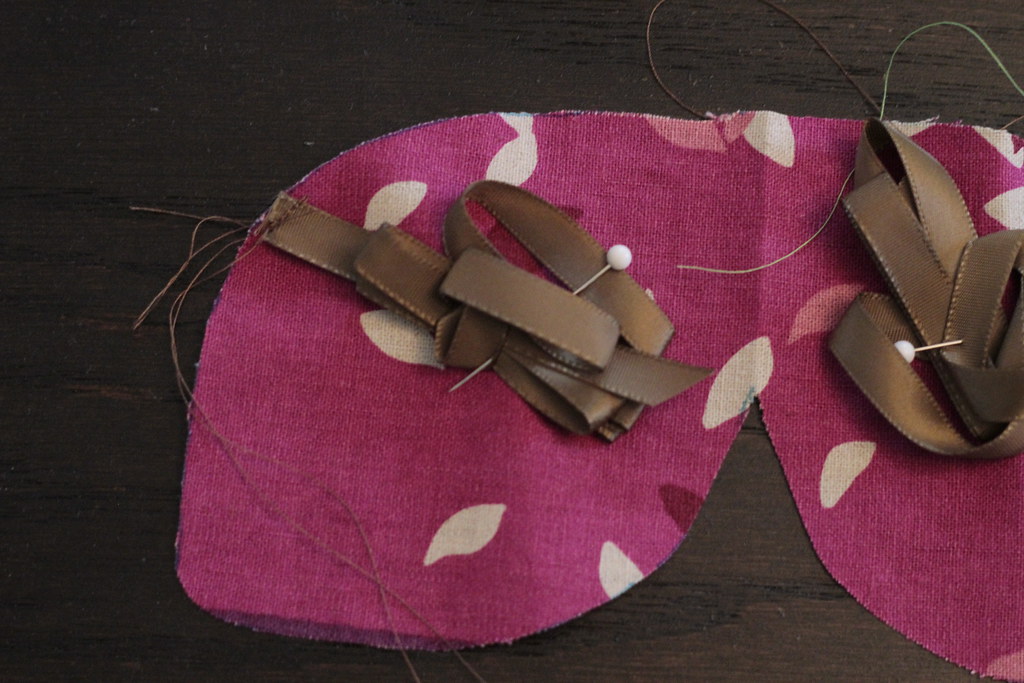
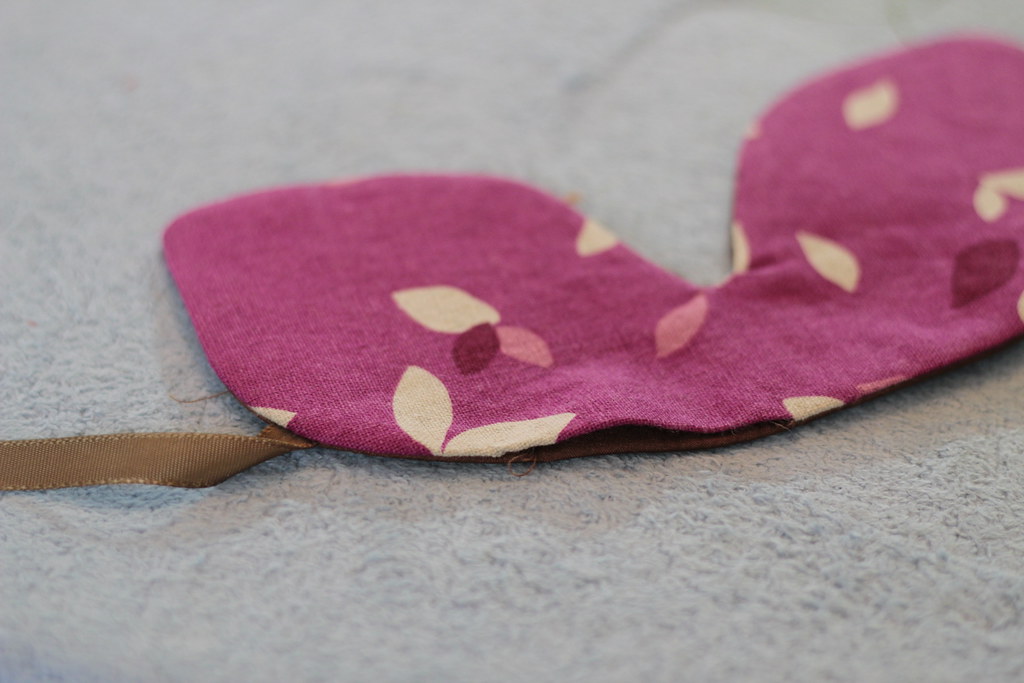
4. Take your ribbon pieces and pin them to the RIGHT SIDE of your fashion fabric. I chose to have them cross so that when they were tied they angled up above the ponytail I always have in my hair when I sleep. Run a few stitches to secure the ribbon so they don't move while you sew the rest of the sleep mask.
5. Secure the ribbons to the center of the sleep mask using pins - this makes it more difficult to accidentally sew the ribbon into the edges of the sleep mask when you in the next few steps.
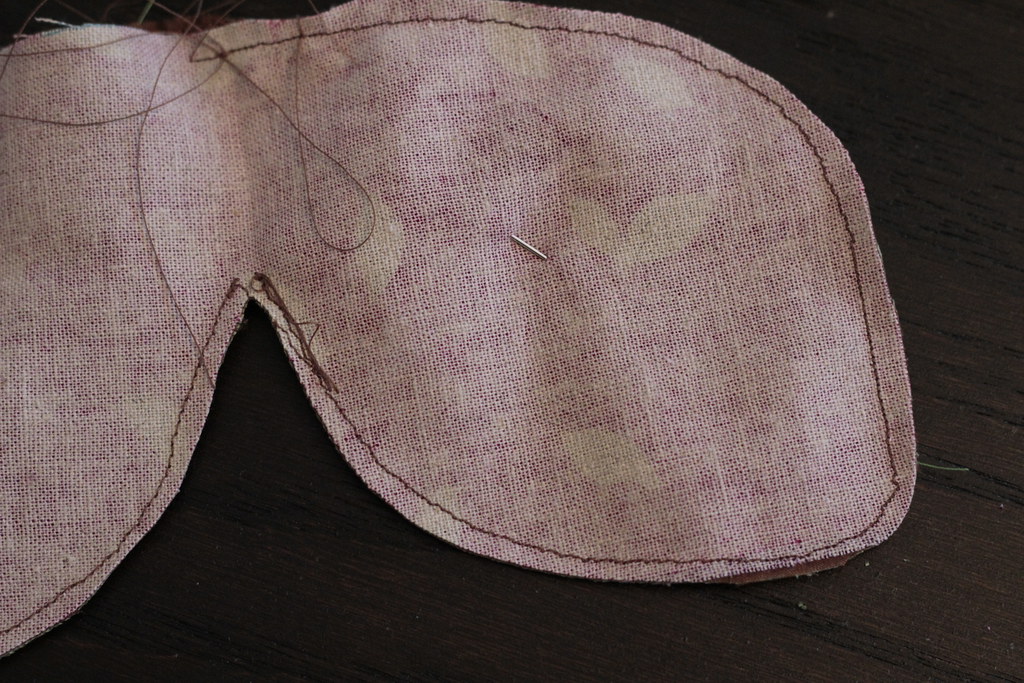
6. Pin the RIGHT SIDES together - this means that I put the silk fabric facing the ribbons that I had just secured onto the fashion fabric and pinned. Sew around most of the edge but leave a little gap to turn the sleep mask inside out.
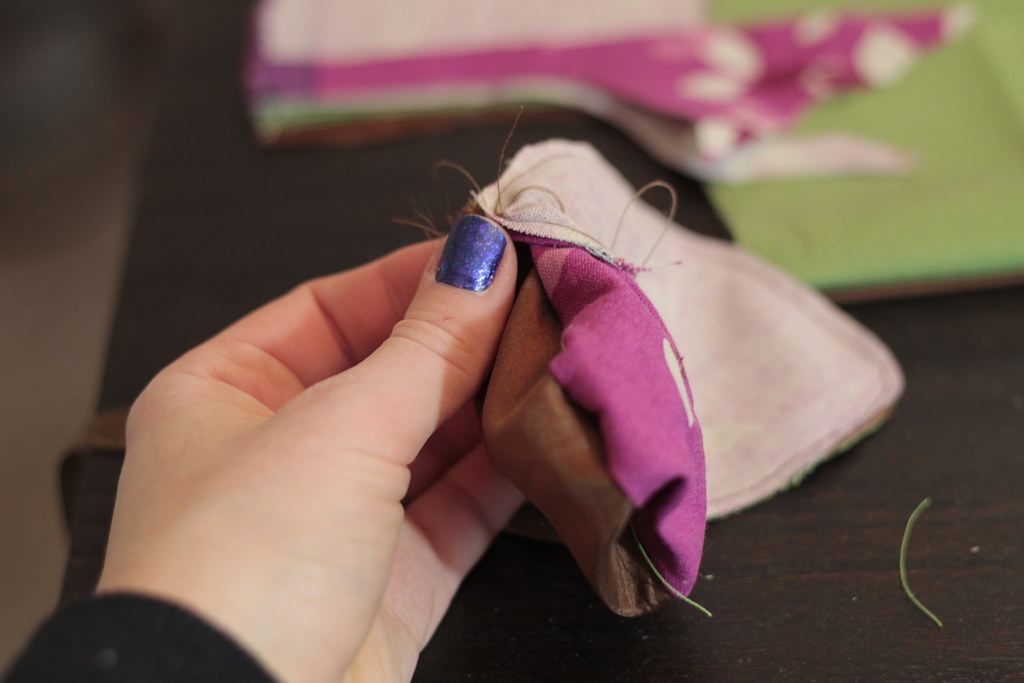
7. Turn the mask inside out using the little gap that you had left.
8. Press the sleep mask flat, and concentrate on pressing clean seams for that gap, too. We are going to use the pressing + topstitching to close the gap instead of hand stitching the gap closed.
9. Topstitch around the whole mask. This will help stabilize it and close the gap in the mask as well! All done!!!
If you have any questions or need anything explained further please feel free to leave me a comment or shoot me an email! If you do make this project I'd love to see a picture, too!
PS: Have you checked out my giveaway? I'm giving away a few of my favorite beauty products to celebrate my November Beauty Wrap Up! You can find it here!

0 komentar:
Posting Komentar