Because I'm an athlete, and more specifically a cyclist, my body goes through three distinct sizes every year. There's winter, when my size goes up because it's the "off season" and I'm not exercising as intensively. There's the early spring/summer and early winter clothes when my body is losing weight and I'm the most proportional, just generally skinny all around, before my cycling thighs really kick in, and there's where I am right now, high summer.
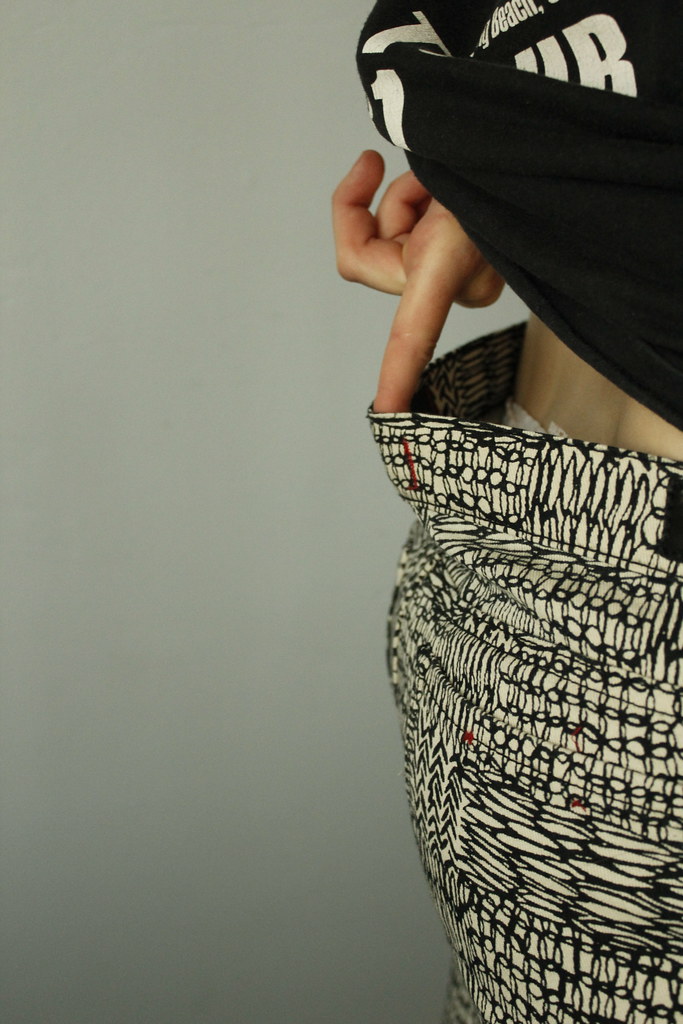
This is the part where everything, and I mean everything is really skinny, except my calves and thighs and rear end. I have to buy pants a size or two too big for my waist so that my thighs will fit into them.
(Do you know how hard it is to take a picture of the back of a pair of pants?!)
This means that I have a lot of pants that are falling down around my hips, gapping terribly in the back, or just plain old not working out. I definitely put some away, like my work pants, for other times but there are a few I don't mind keeping just for in season pants and are tailored accordingly.
I found this pair of pants on super sale at Urban Outfitters and figured this busy print would be the best test subject. If I ruined them I could just write it off as a learning experience. If they worked out, great!
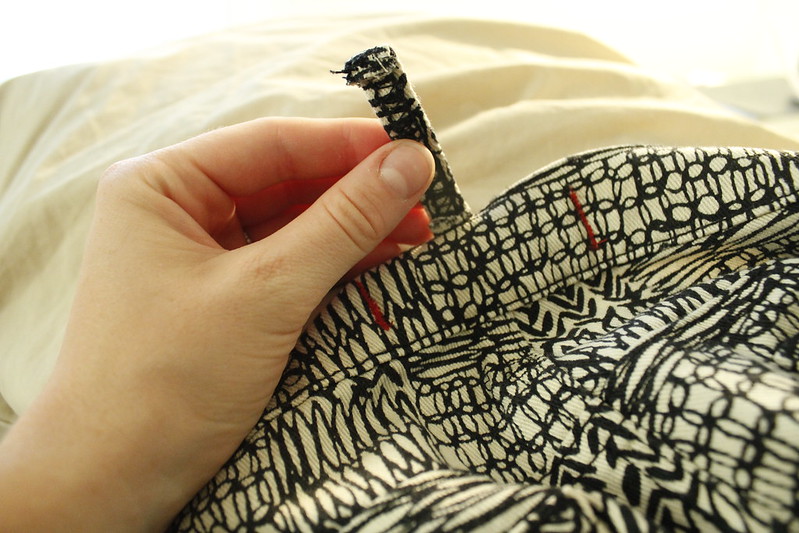
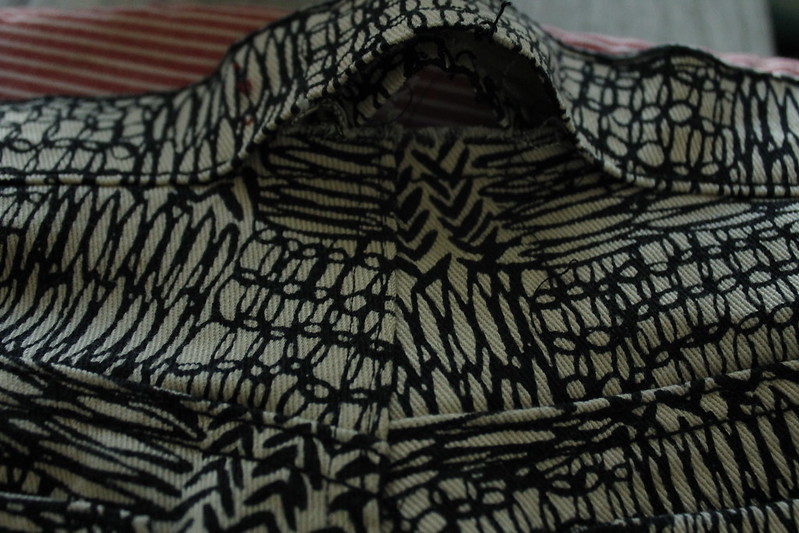
I started by taking my stitch ripper and pulling off the interior tags, the center back belt loop, and I began unpicking the bottom portion of the waistband.
After I unpicked this a little bit I put the pants back on, zipped them up, grabbed the center back where it was too loose and pinched until it fit. Then, reaching precariously behind me I drew pink lines with chalk where I wanted the edges to meet. If I would have had an assistant I would have had them pin it up for me but since it was just me I drew and then matched it. I realized I would have to take about 3.5 inches off the back, which is a pretty significant amount! It was here that I lost my seamripper and had to put the project aside for a week or so until I found it!
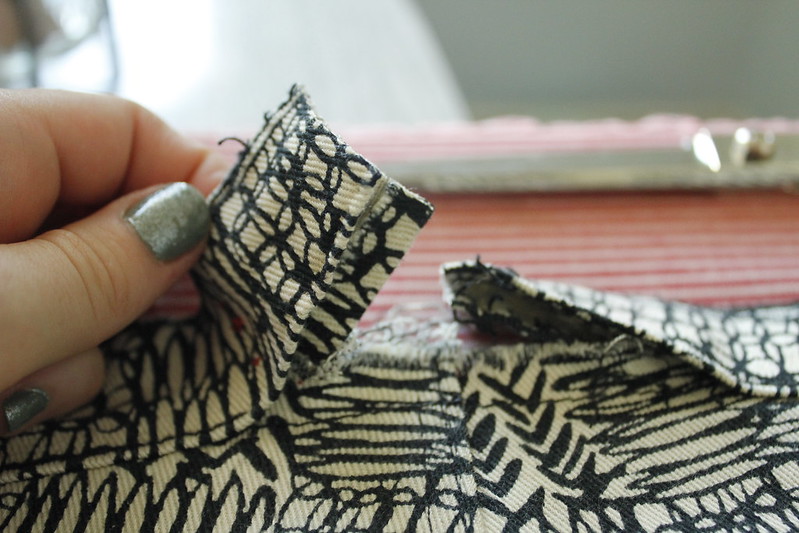
Once I found the seamripper again I unpicked that entire section I needed to take out plus about an inch on either side. I also picked out the center back seam about four inches since that was how long I needed to take the extra fabric without a pucker.
After everything was picked out I put the pants back on, zipped and buttoned them up, and pulled to take in the extra fabric from the center back seam. I drew lines with my chalk and then took them off and pinned it up to take in the extra fabric. I never worry about pinning things perfectly - I tend to manipulate the piece I'm sewing as I sew so I have clean lines.

Starting at the existing seam, I sewed a basting line with a big stitch up where I thought I wanted the pants to meet. I left the waistband alone and went to check the fit - turned out there was a pretty severe pucker and the seam was leaning hard to the left! I unpicked the basting line, re-adjusted where I was going to take the seam in, and basted it again. The second try was a lot better!
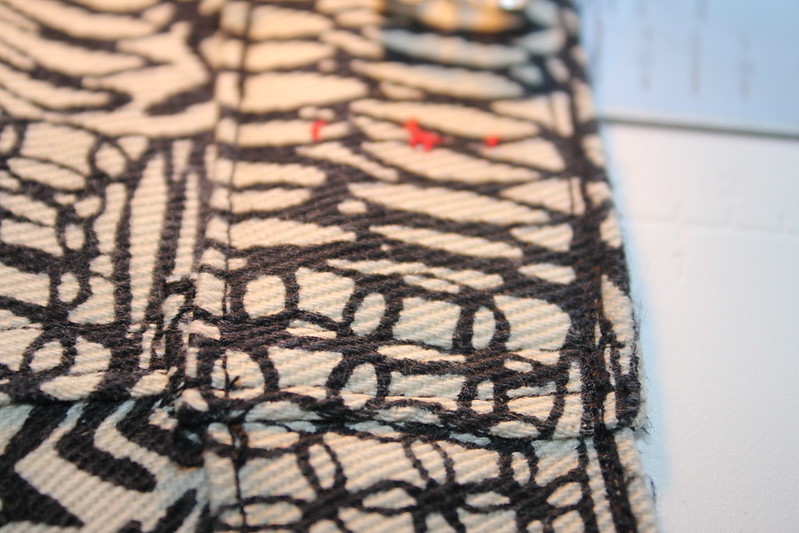
Once it was basted in place I sewed two seam lines to replicate the twin needle that had been used initially.
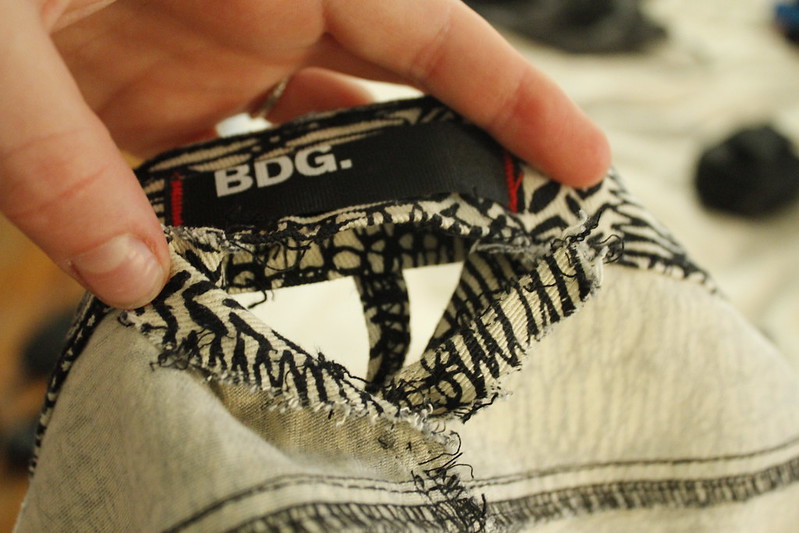
I ironed it to smooth out any kinks and tried them on - perfect fit, except for the waistband, which I still needed to figure out. When you have pants professionally tailored they often remove the entire waistband but I didn't feel like this pair of pants was worth doing it to, so I decided to just snip at the center of what needed to be taken off.
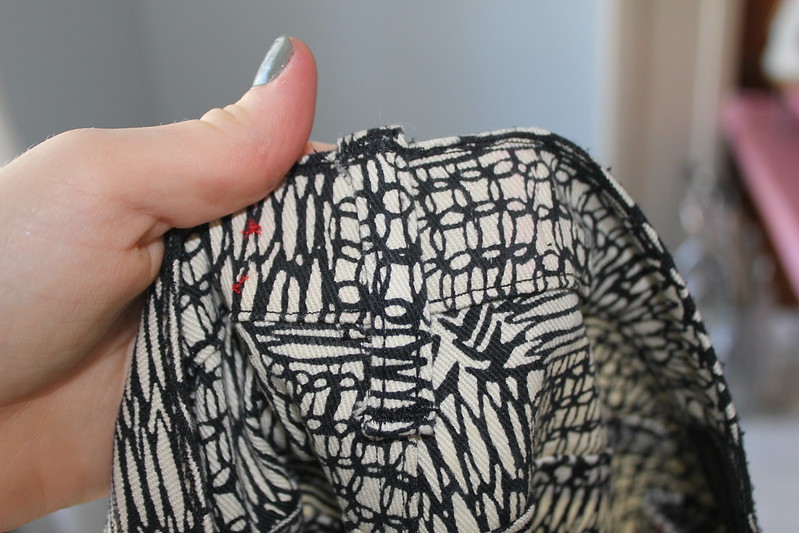
On the left side of the waistband I folded it over and ironed. I snipped the extra off the right side of the waistband and tucked them inside each other.

I pinned each side back onto the pair of pants and overlapped them so the seam was clean. I sewed, following the orignal stitch lines.

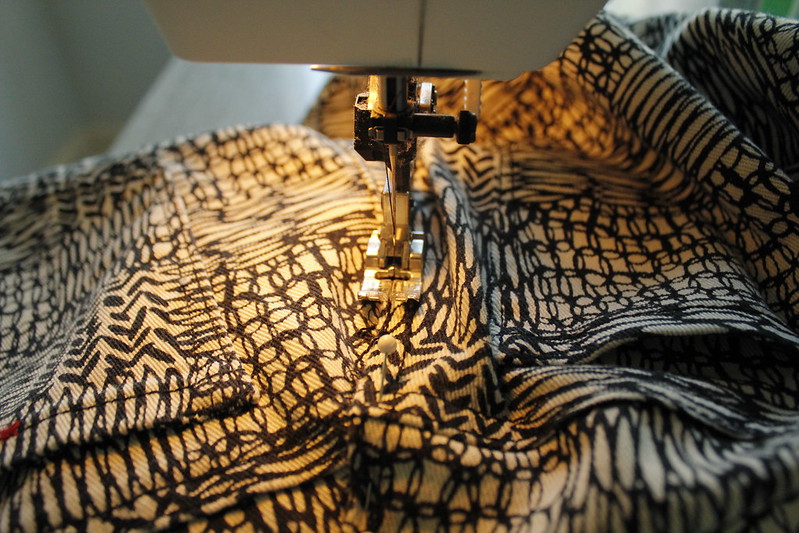
I re-enforced this seam by doing a little square of stitching and doing some back and forth stitches over points where there would be tension. I wasn't too worried about it looking perfect because I knew that once I put the belt loop back on this would be covered.
I put the belt loop and brand tag back on (quite frankly the hardest part! This was so thick to sew through!)
Here's how the pants look now that I've taken several inches off the back to accommodate my tiny waist and sway back.
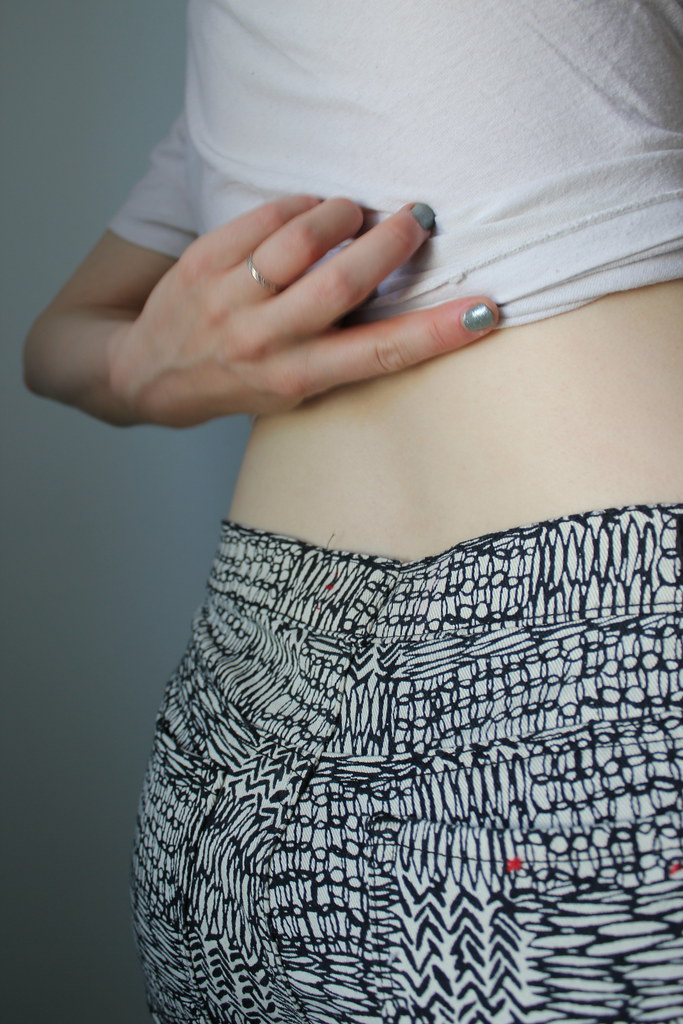
(Even if altering pants got easier taking pictures of my back didn't! Sorry about the awkward angle!)
Not bad, if I do say so! The back edge of the waistband sits right along my lower back and I can lean over without them falling all the way down and flashing my skivvies to the world! I guess I believe in modesty, propriety, and really loud pants!
I hope this helps you figure out how to take in your own pants! I had no idea altering pants would be so easy - there are so many seams on pants that it seems like a daunting task a lot of the time. If I hadn't lost the seamripper this project would have taken me less than an hour. I'll be posting outfit pictures featuring these pants tomorrow and then I have one more sewing project to put up. It was a gift for someone so I wanted to make sure that she had received it before I put pictures up on the internet.

0 komentar:
Posting Komentar